

How To Make A Small Animal Snare
The end stops
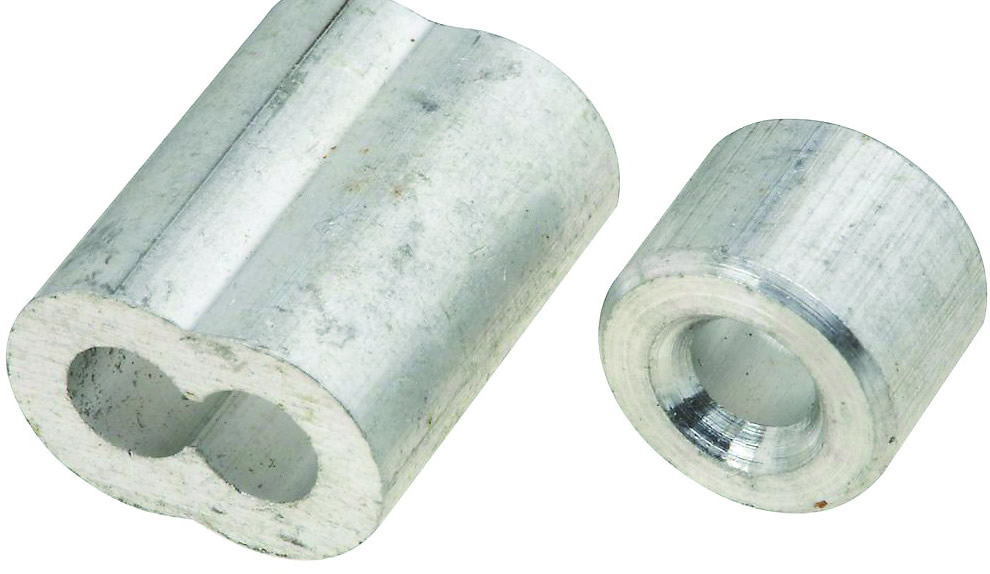
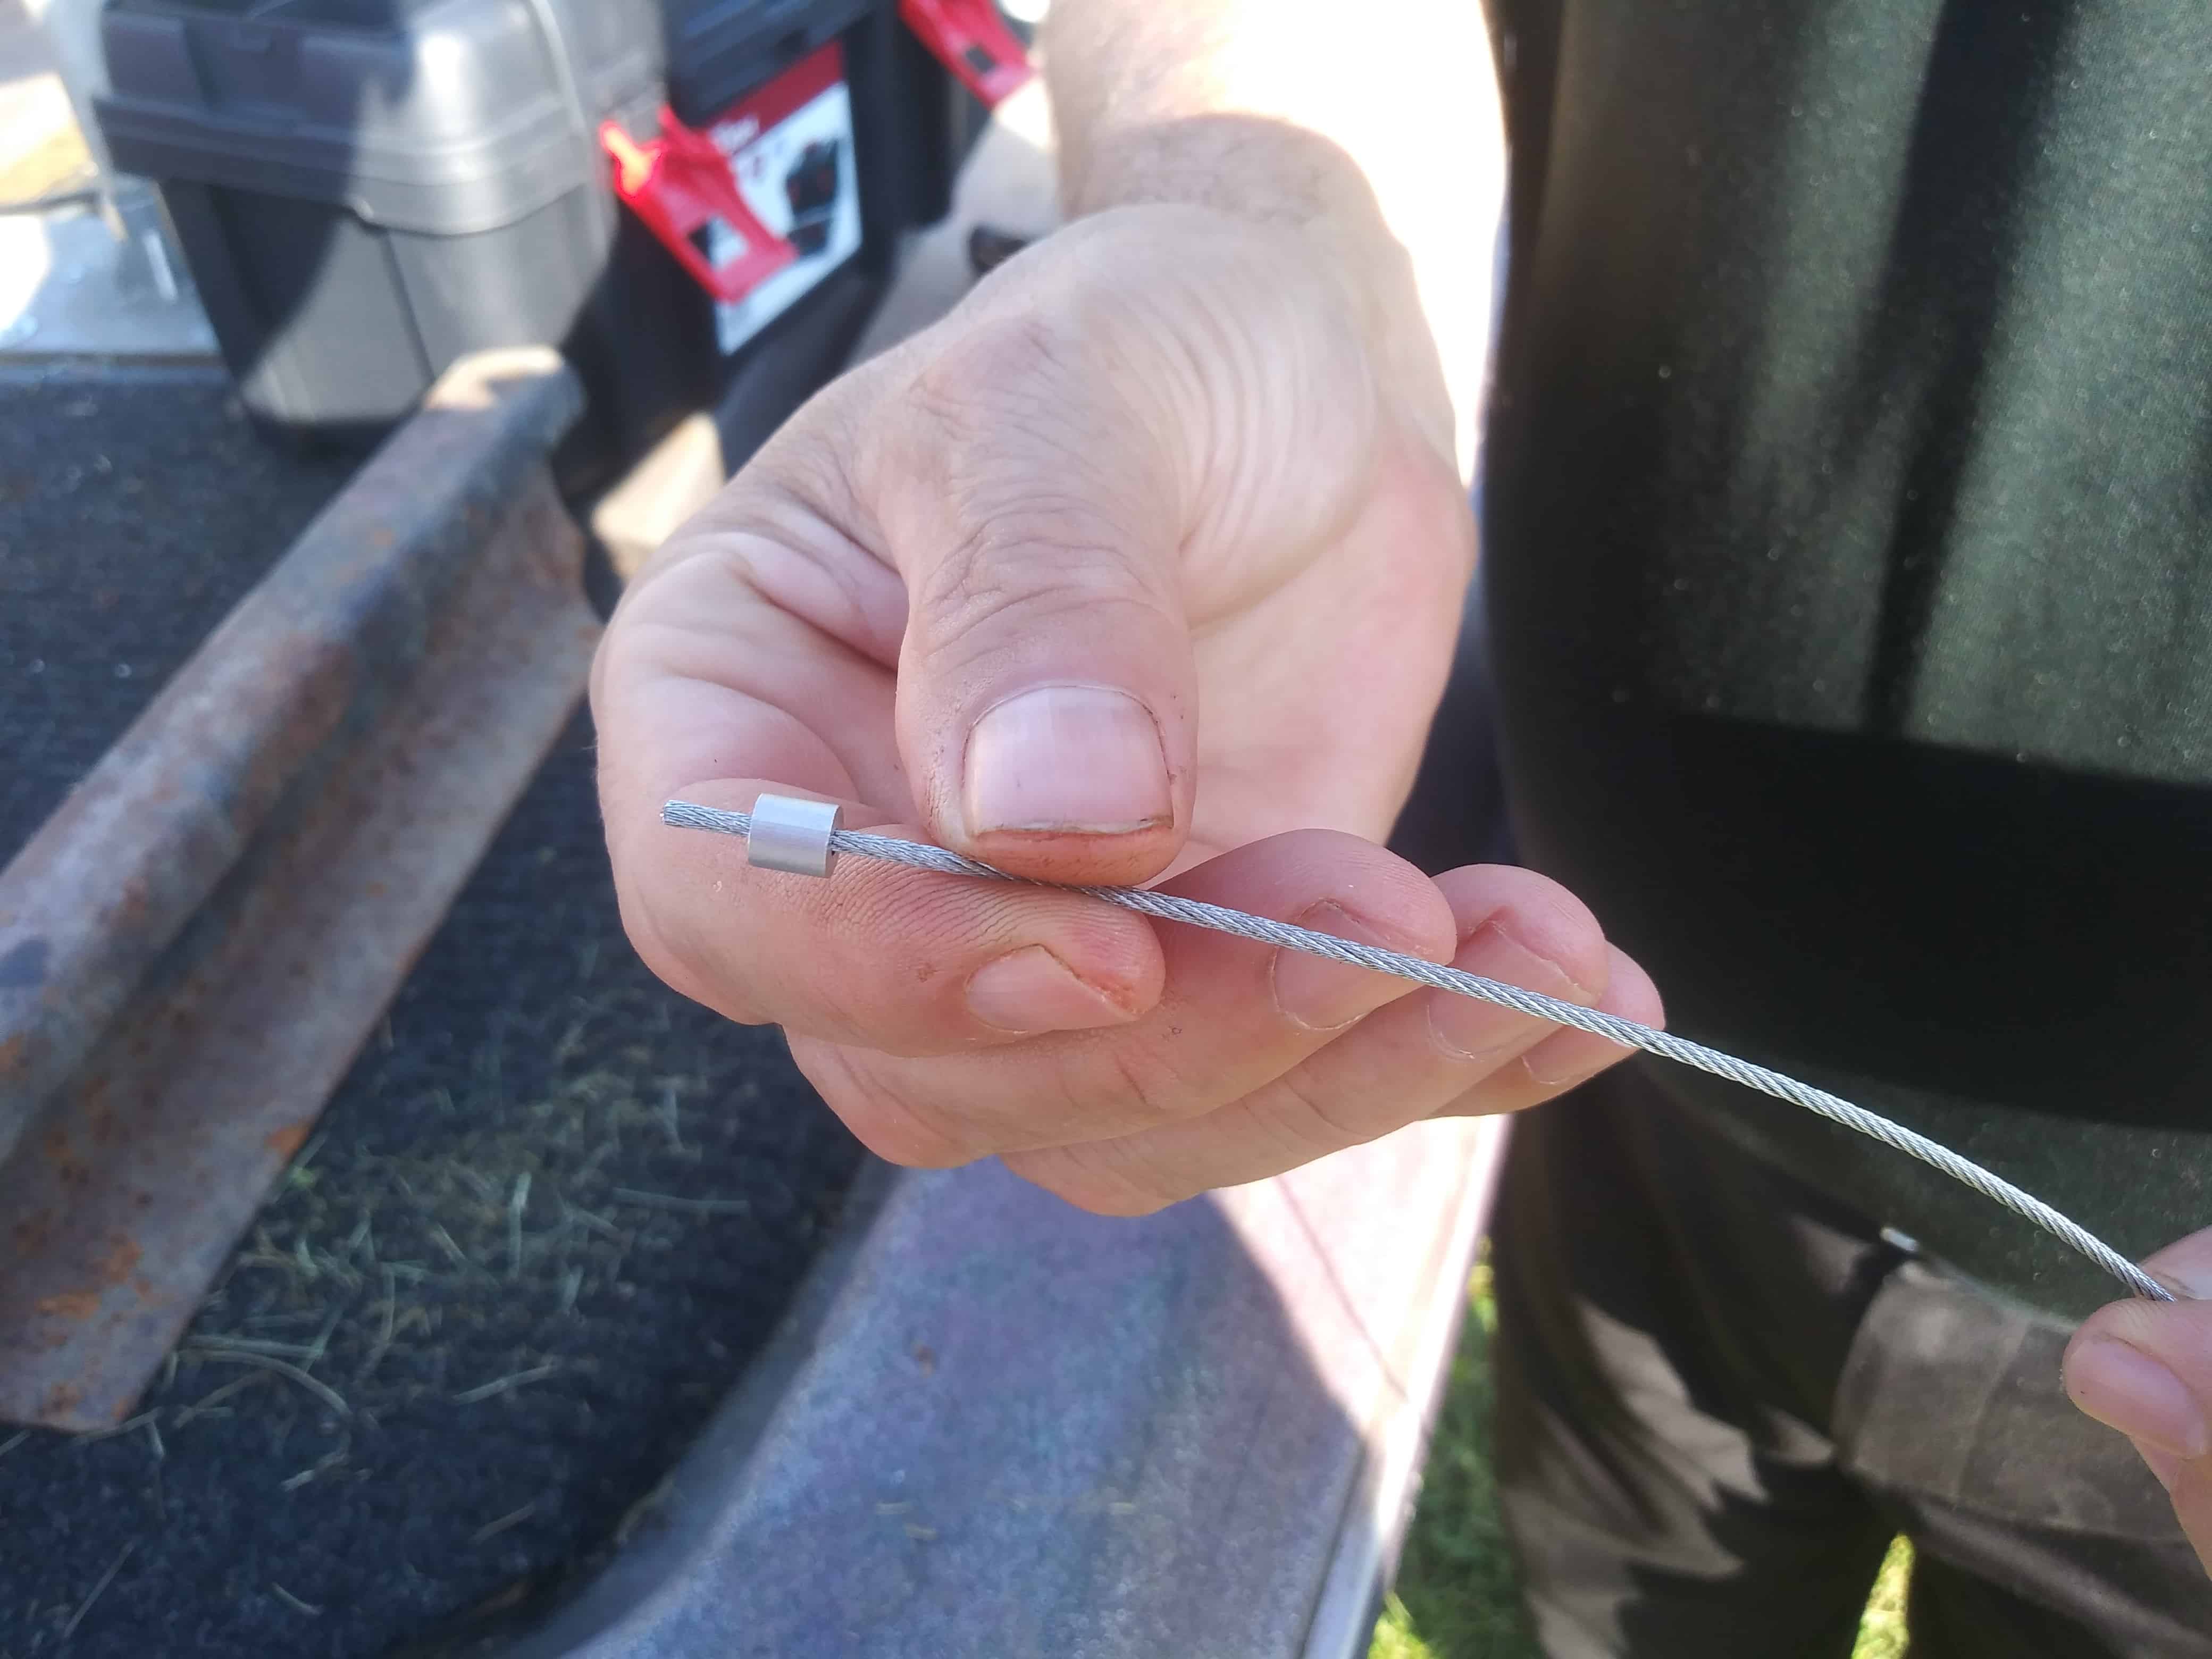
End stops every bit trappers phone call them or otherwise known as Ferrules, are the components that brand everything in a snare stay together. Notice they are double and single butt. The double is used to form loops in the cable while the single is used to secure swivels and generally keep all the parts on the snare. These are hands smashed or crimped onto the cable for a secure agree. Terminate stops come aluminum, copper and steel. Fig. 3 above is using steel every bit it is a large game snare that requires much more holding power.
 Steel stop stops require a crimper or machinery to apply the terminate stop. You can nevertheless utilise an alternative which is estrus tempered steel nuts. Y'all can purchase these or make them yourself. We volition cover making these in a unlike commodity. For at present we are focusing on the aluminum stops.
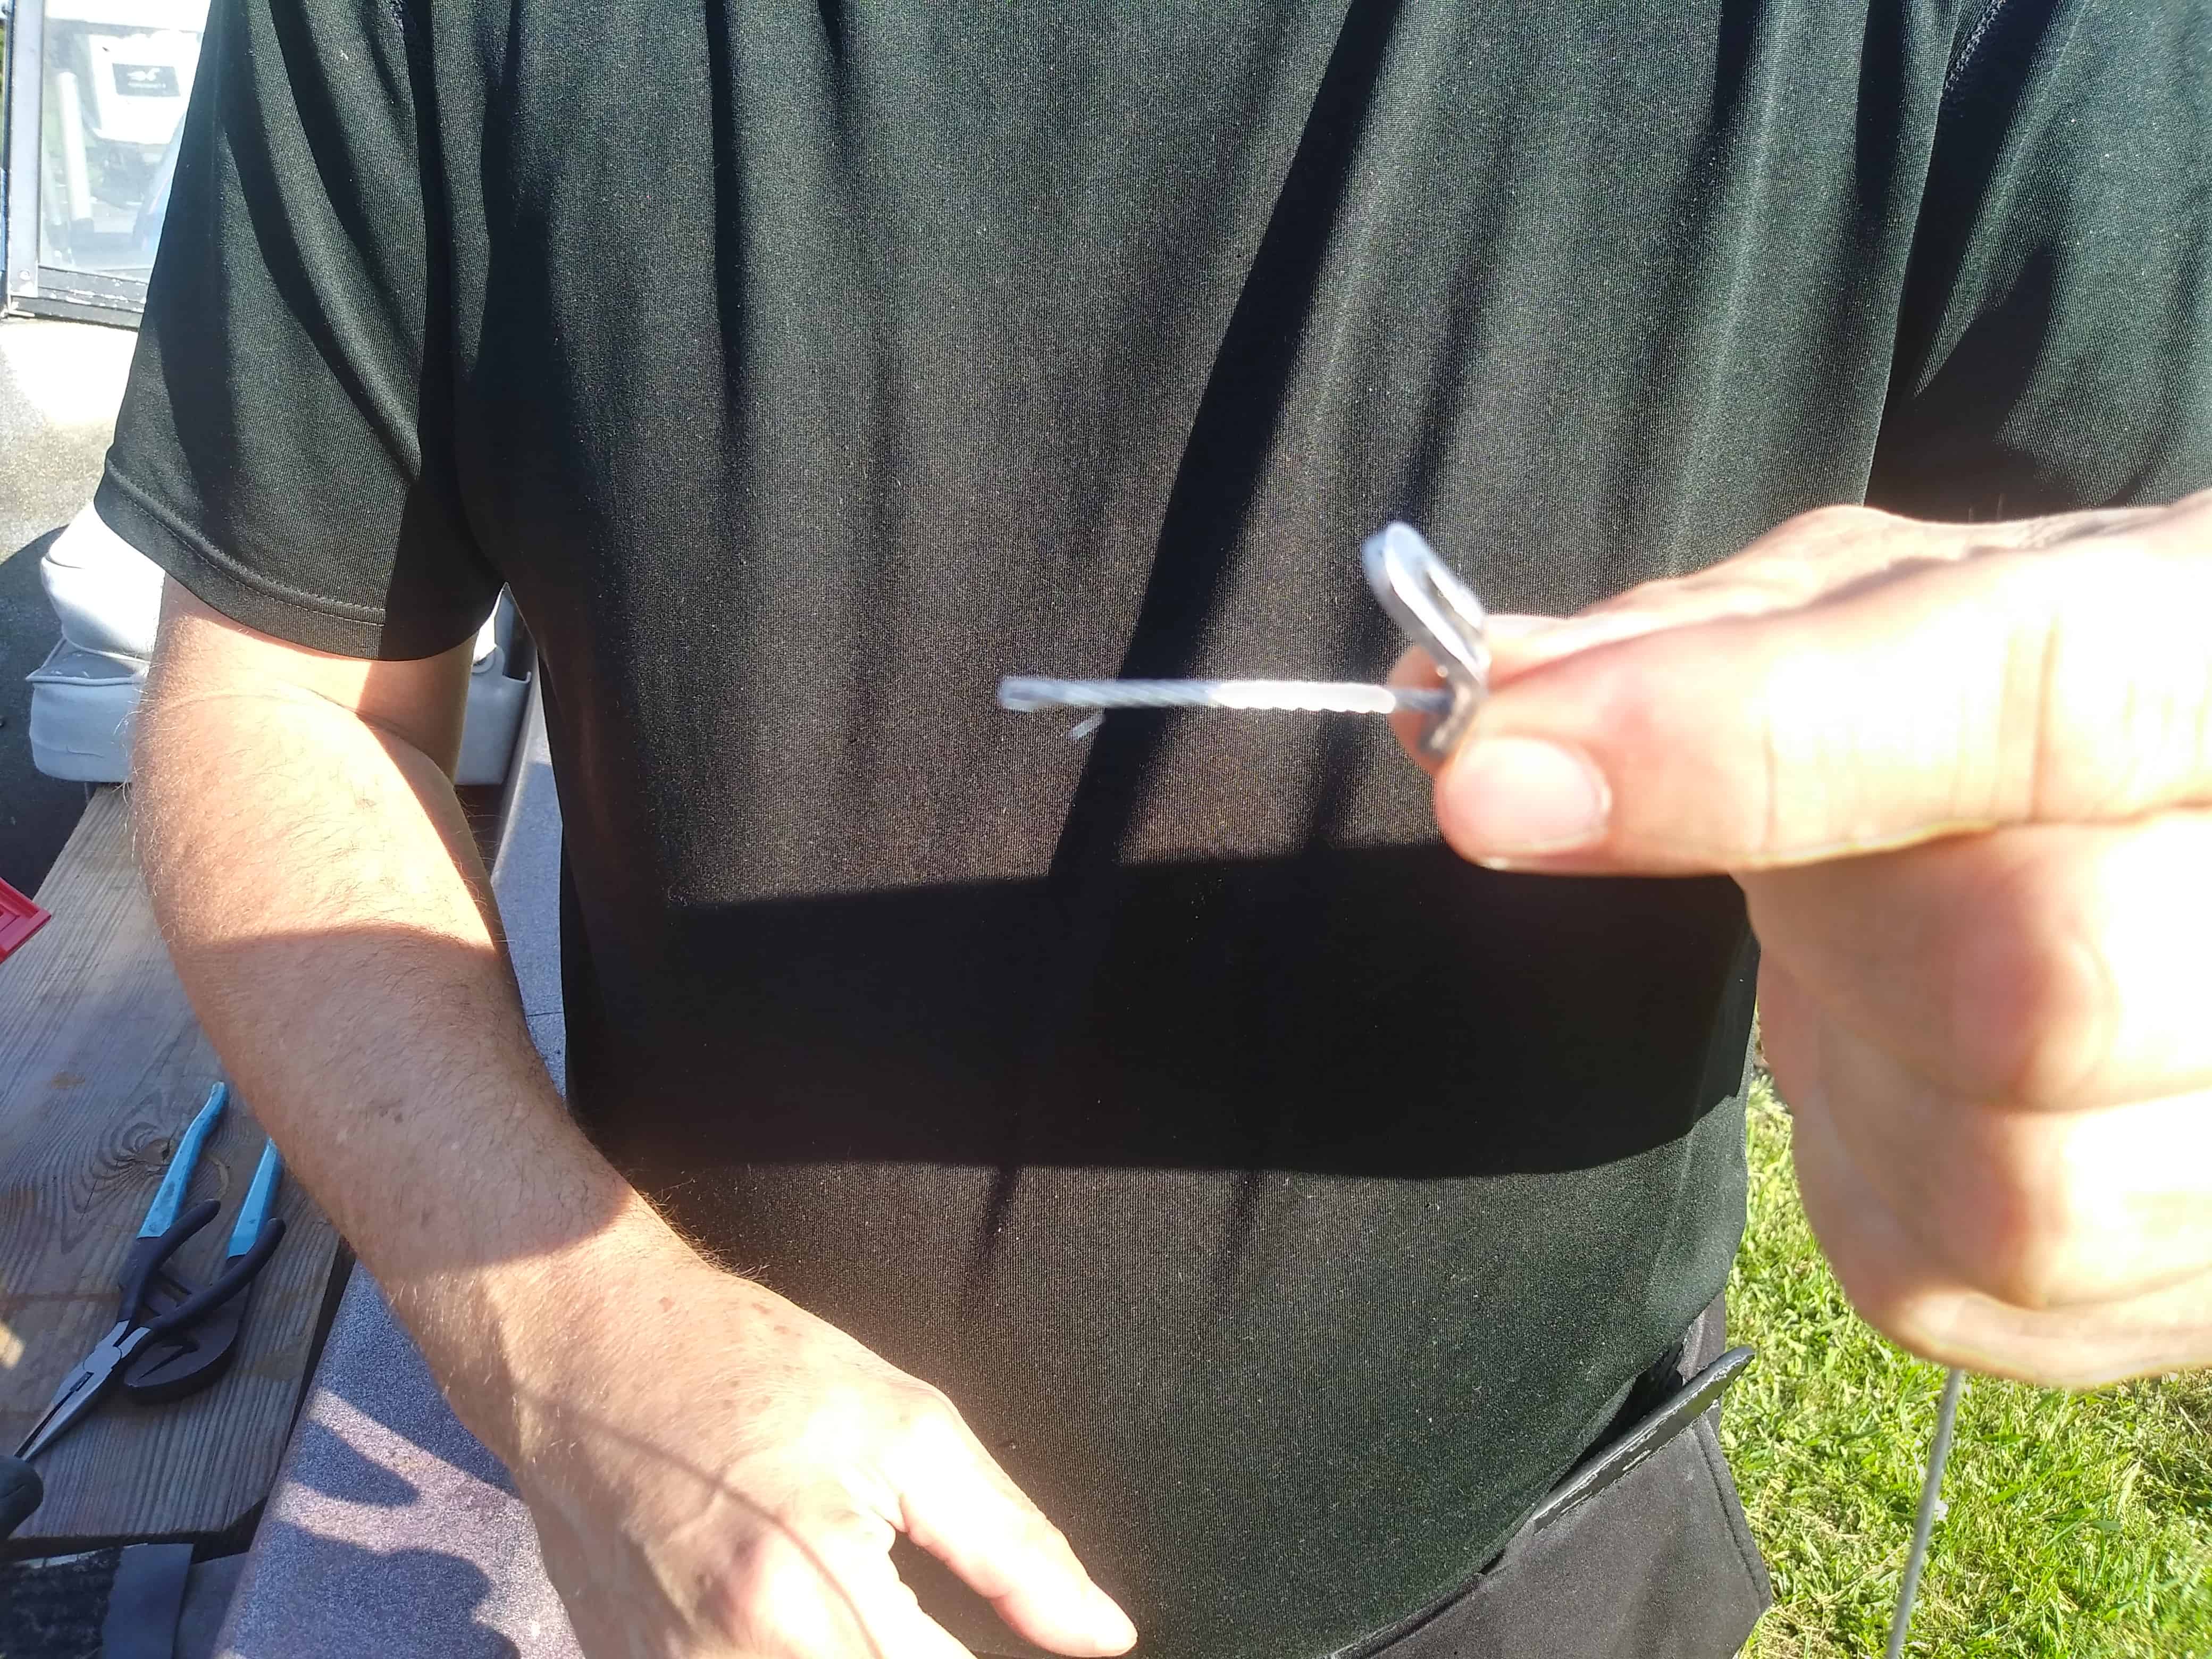
The Micro Lock

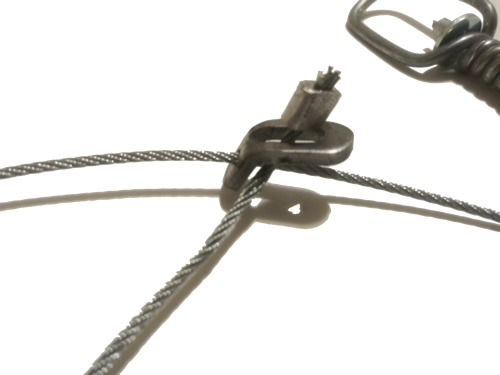
We utilise the micro lock on all of our snares. In our opinion it is the best lock due to its fast closing activeness and minimal pelt damage. This component is installed on the snare loop finish and is the main "business concern office" of a snare. Without a lock, they prey will escape one time tension is released on the snare. The image (elevation right) shows the micro lock installed on the cable.
Snare Support Collar
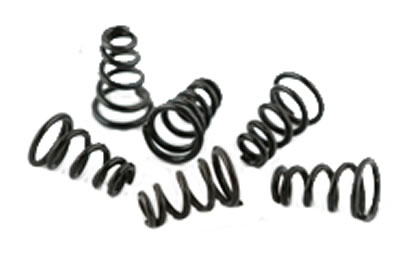
The snare back up neckband is used to support your snare loop at different heights and allows for better positioning when making a set. Simply insert the wire and twist the the support collar until the fit is tight. Some people use the barrel type but we suggest the twist lock collars as they hold much much better. (top right) y'all tin see the back up neckband installed behind the hinge.
The Washer
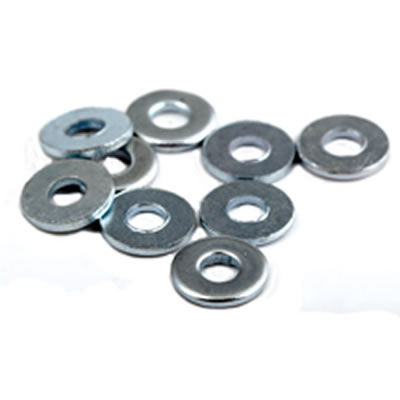
The washer is a simple yet required component. These can be obtained from whatever hardware store or you can purchase snare washers from us at a discount. These are used to secure the hinge caput onto the cablevision.
At present that y'all sympathize the basic parts of a snare, let'south dive into building ane. We will do this step past step and when we are done, with some do you will become a snare edifice chief in no time so lets learn how to make a snare shall we?
Building Survival Snares
Step one: Lay of the snare cable and the first finish finish.
Cut the cable to your desired length. We recommend 3 – iv ft for pocket-size snares, 5 – 6 ft for medium and seven – 8 ft for big snares. Once y'all have your cable cutting there is a very important crucial step required. Hold the cable (balanced on one finger) to come across the lay of the cable.
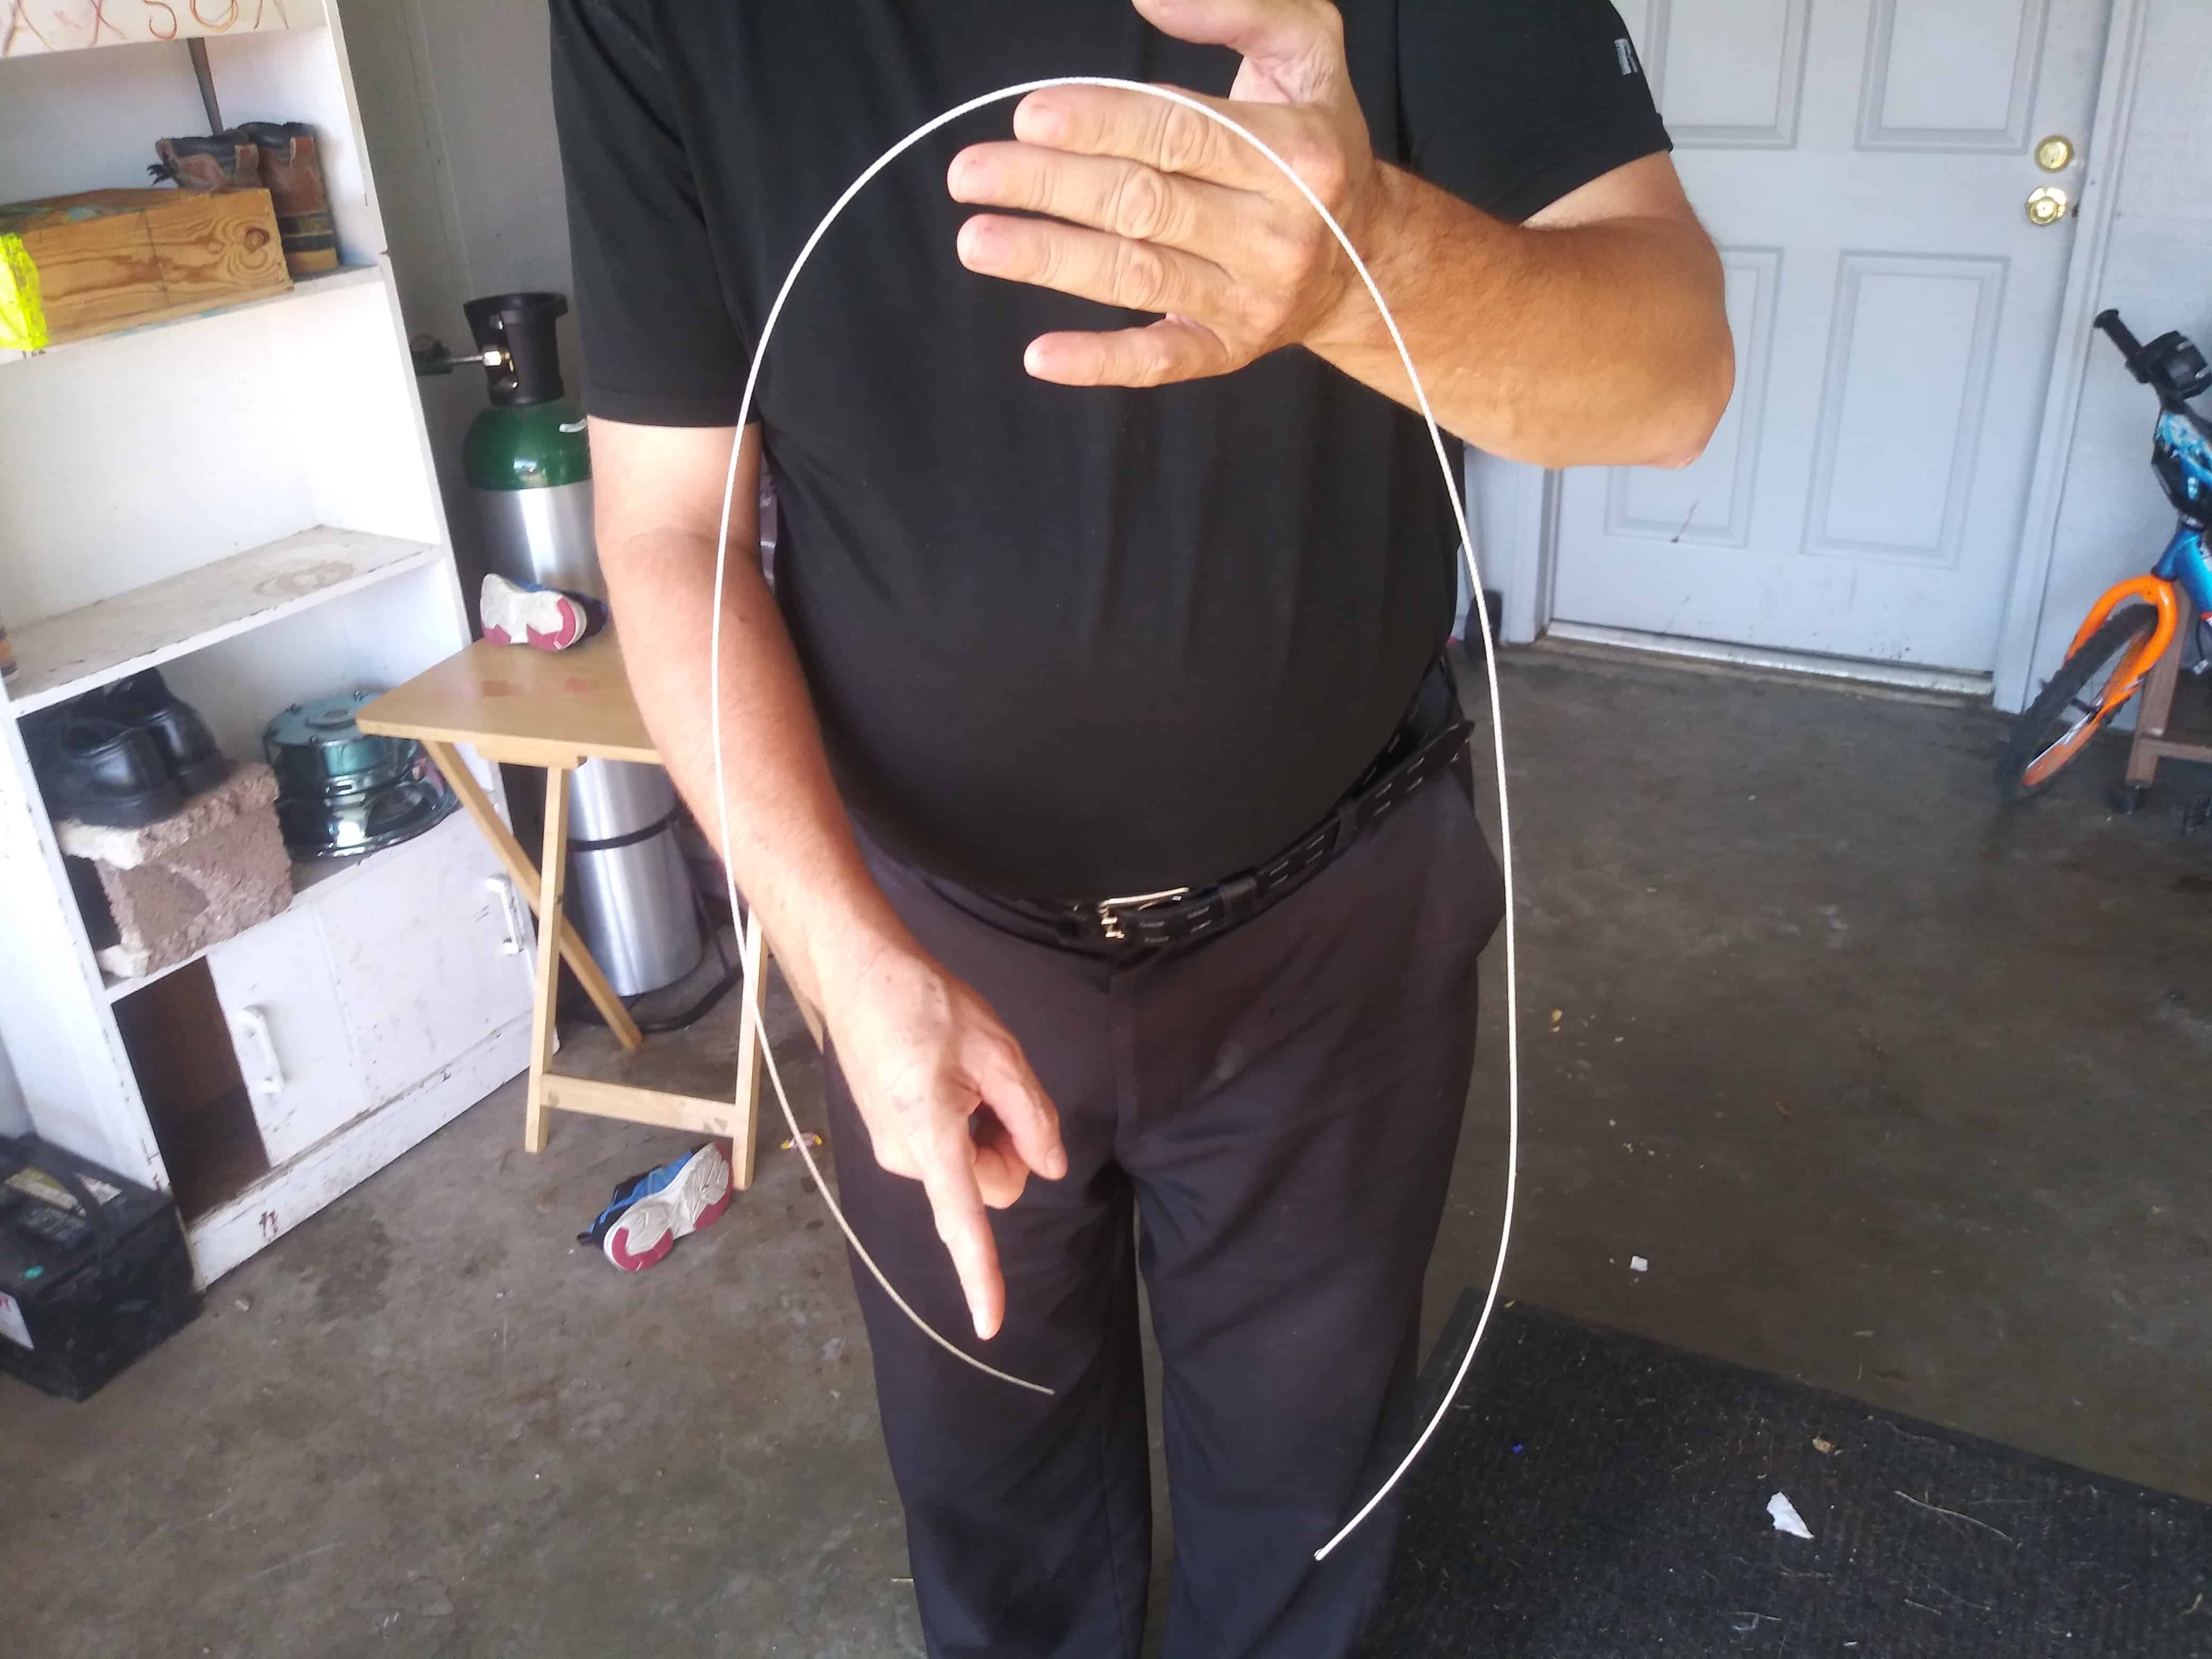
Cablevision can tend to have a left or right curve at one cease due to existence wrapped on the cable spool. If y'all notice one end curves slightly to the left or right, so this will be the "head" of the cable or anchor bespeak.The reason for this is that when installing the lock end, the loop will be better formed without this curve. In one case you detect the "head" or "anchor" end of your snare
Install the end stop on the end of the cable that has the curve (if any) as shown below. If the ends are not curved and so either end will work.
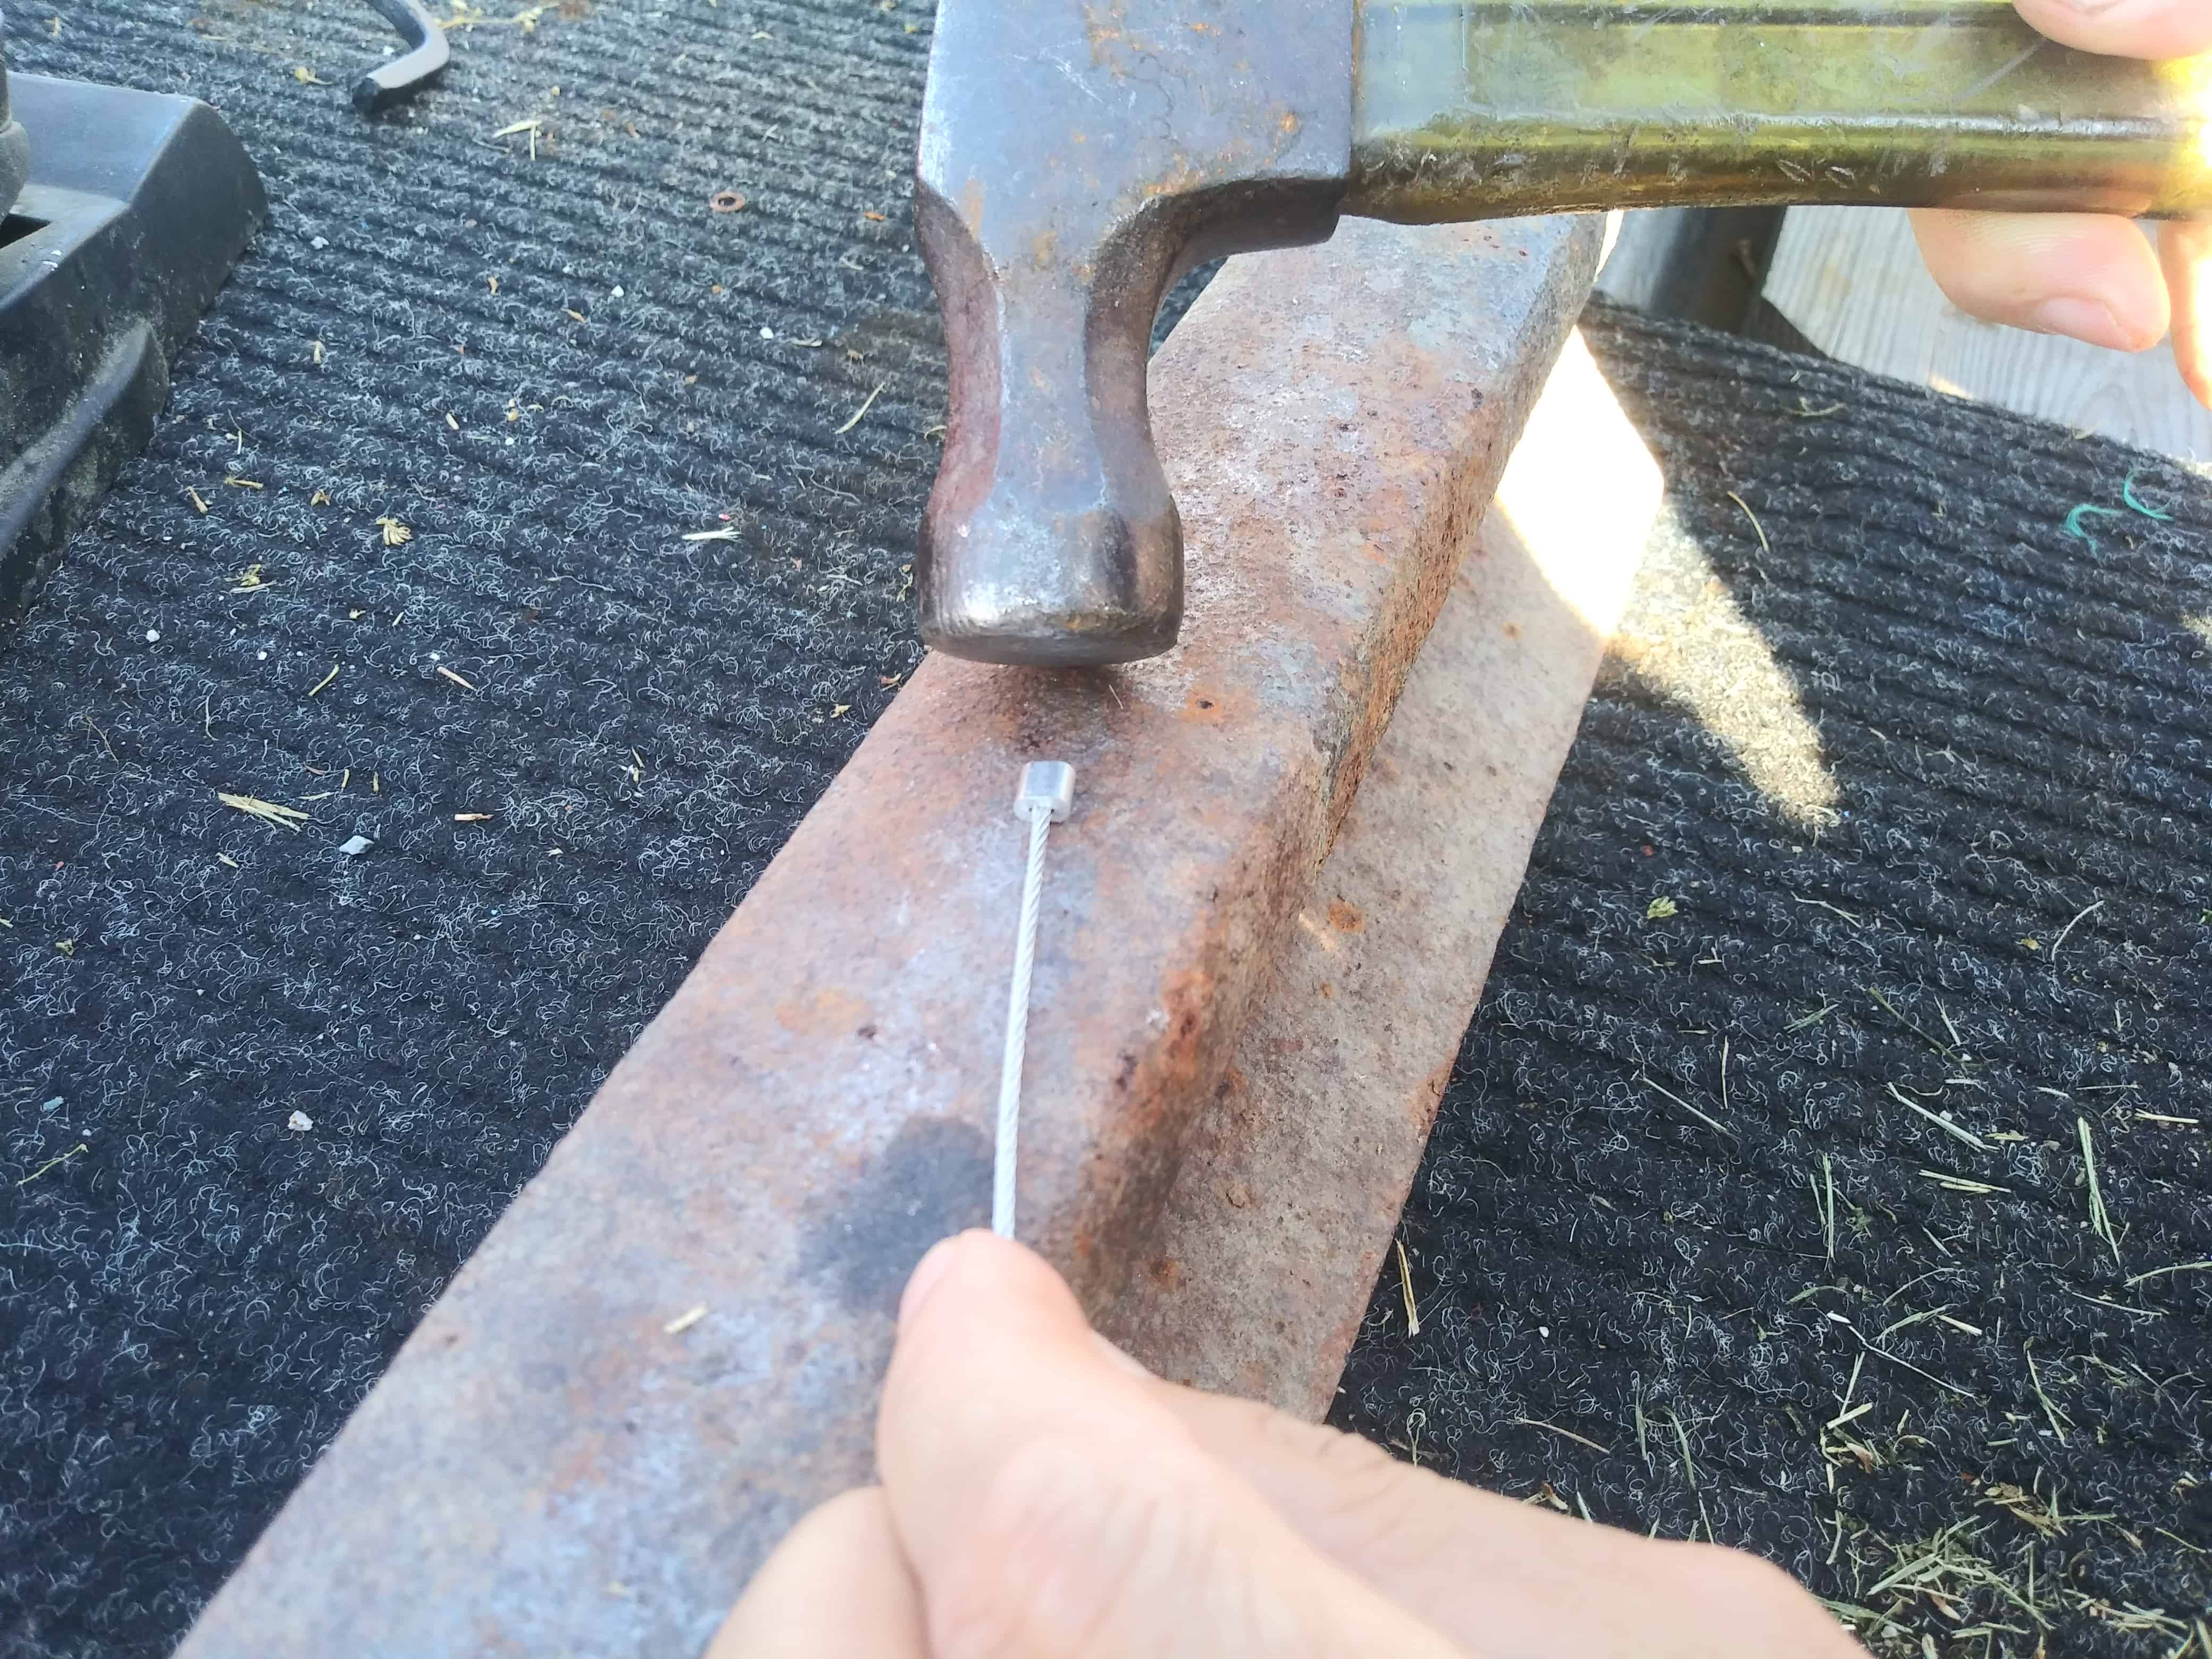
Hammer the terminate end into the cablevision, it does not take much strength, y'all don't want them smashed apartment, just enough to grab the cablevision.
Step Ii: Install the washer.
Simply drop the washer onto the open end (the end with nada attached) of the cable sliding it down to the end stop you just installed. This volition secure the hinge head that volition come on the next stride.
Step Three: Install the Snare Swivel Head.
Take the open up stop of the cable and insert it into the barrel opening of the hinge as shown in a higher place (notation the loop stop faces downwards the cable). Slide the swivel downward the cablevision. Slap-up now we are making snares!
(find how the washer stops the hinge caput from coming off)
Footstep 4:
Install the twist lock or snare support collar, sometimes called a Whammy.
Again from the open end of the cablevision, slide the twist support collar onto the cable as shown above ensuring the large finish is facing downward the cable toward the swivel head.. Slide the collars downwards and out of your way to proceed onto the adjacent part.
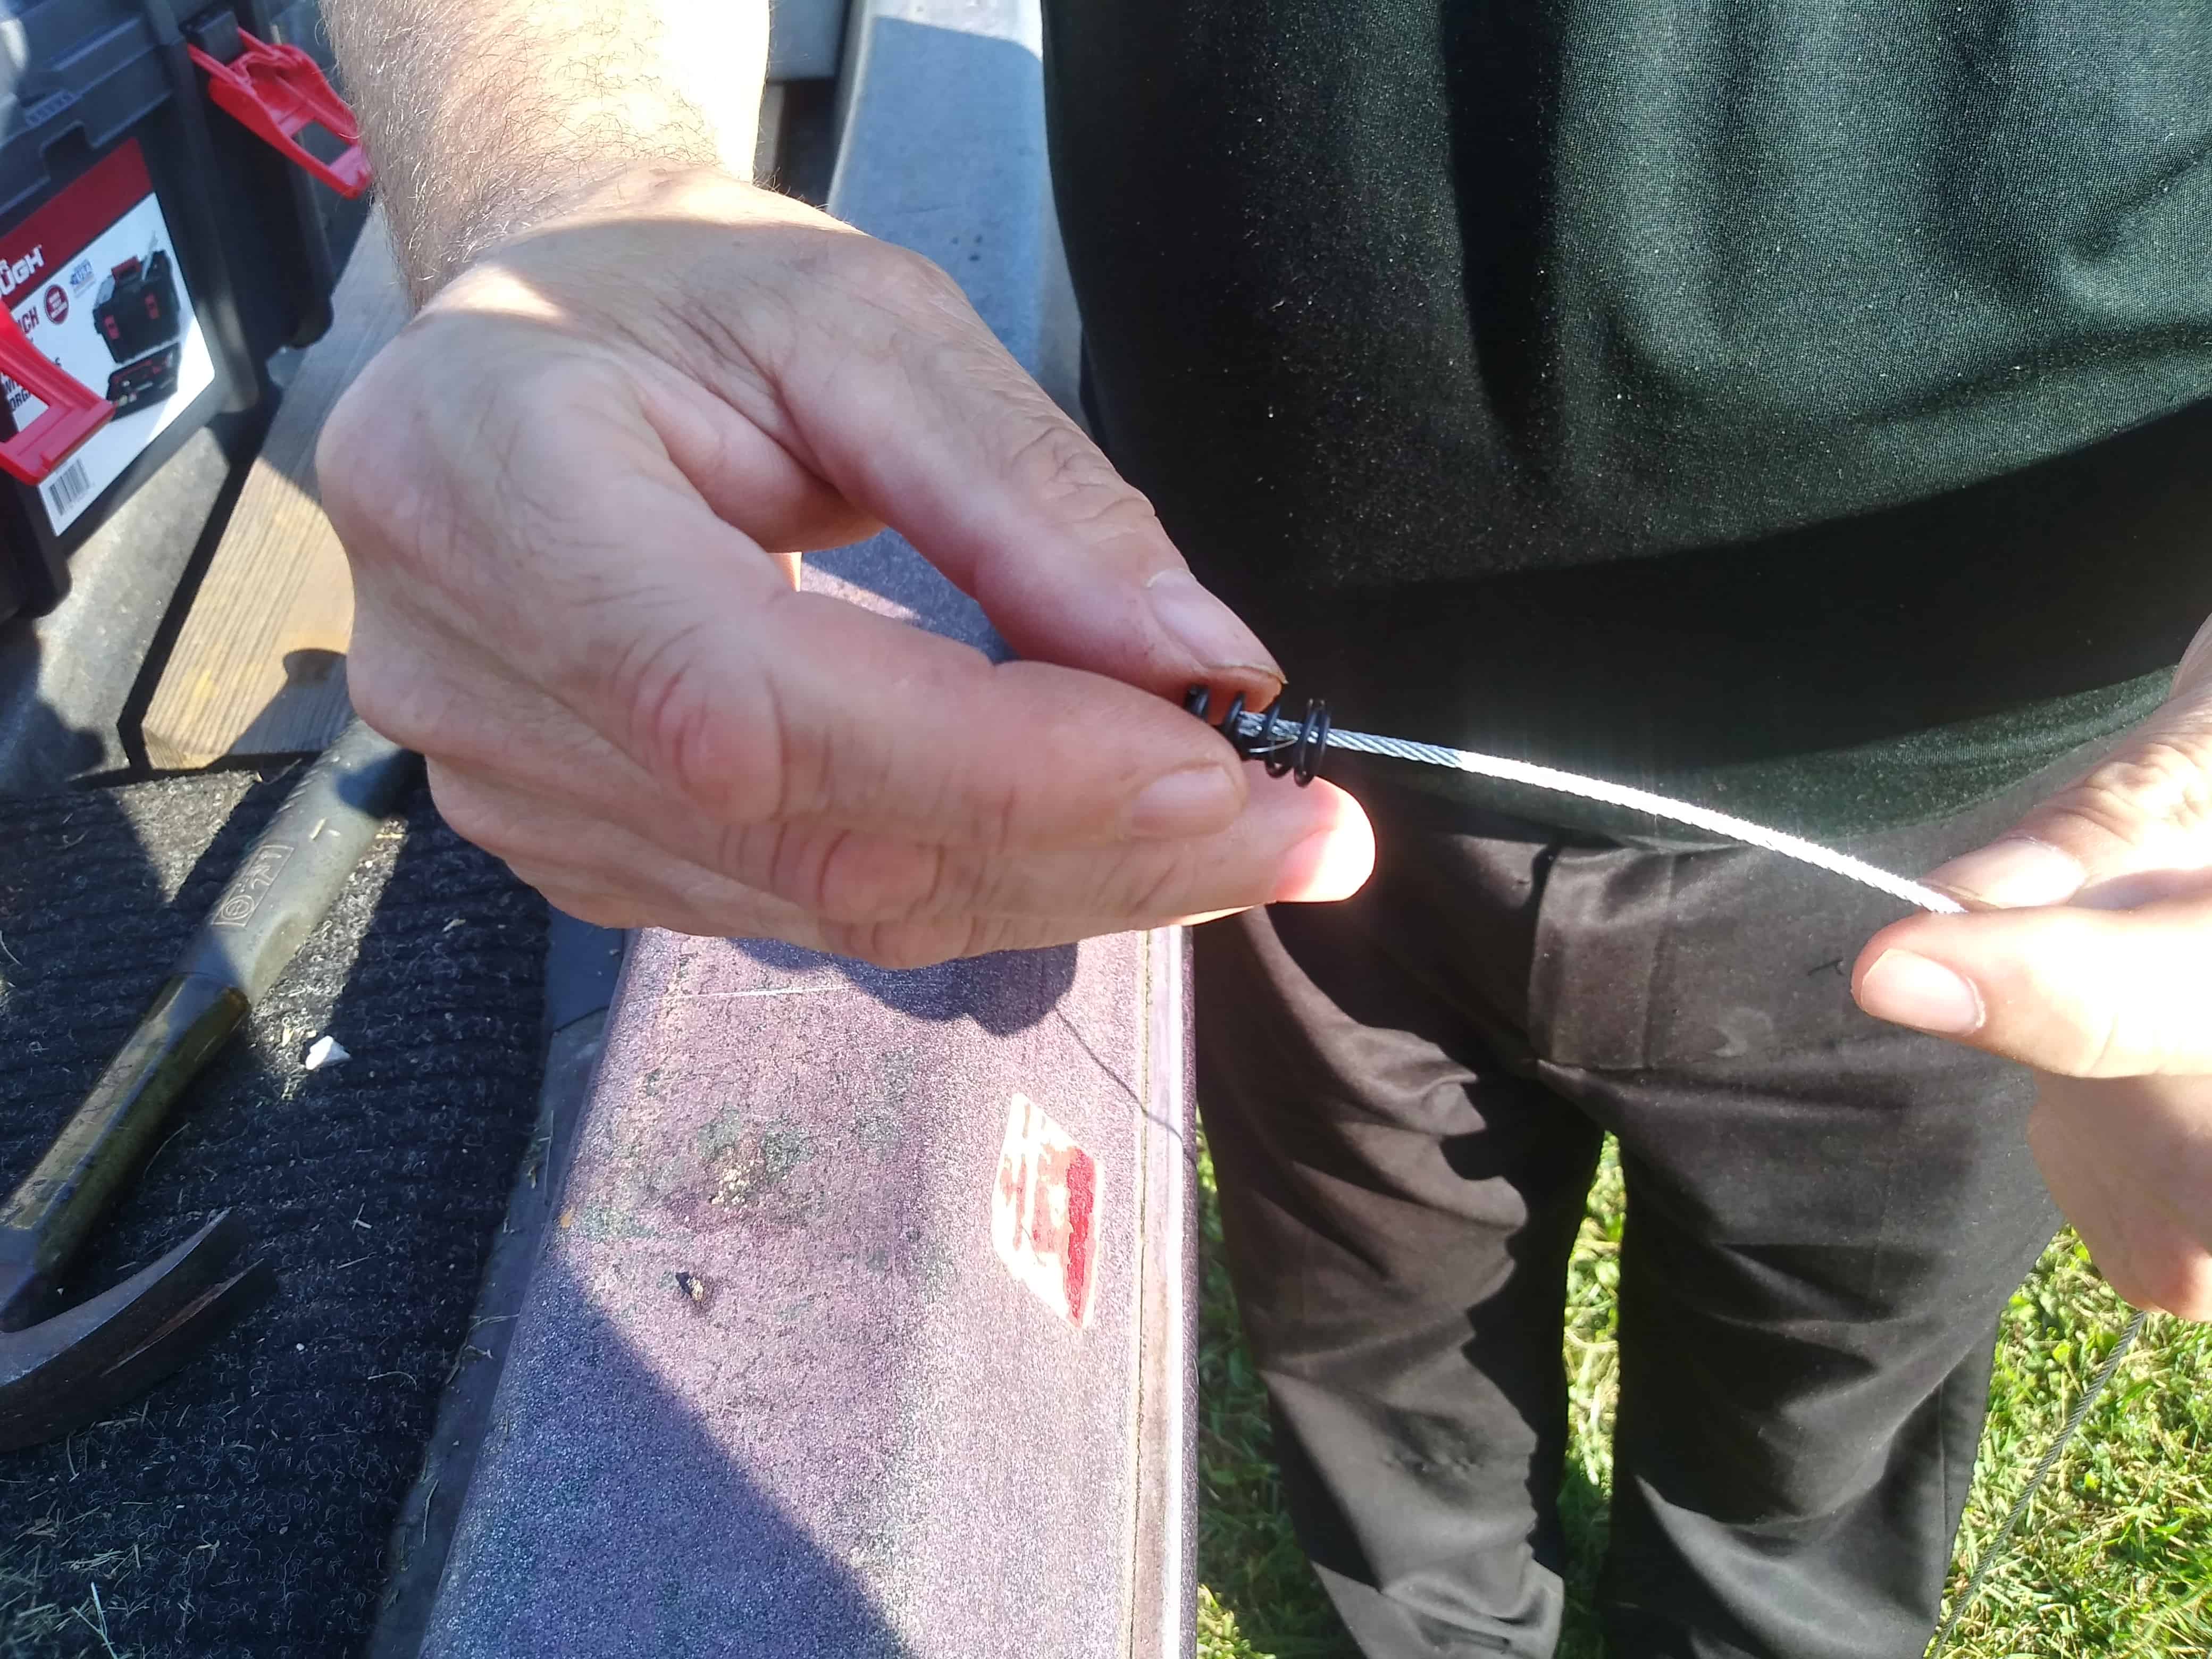
Step Five:
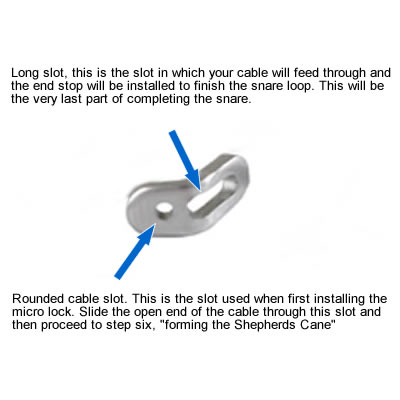
Installing the Snare Micro Lock.
From the open cease of the cable, install the micro lock equally shown in the figure above. Make certain the long slot on the micro lock is pointed toward the open stop of the cable. Note the direction the long slot is facing.
Encounter the figure below. for more on the micro lock slots.
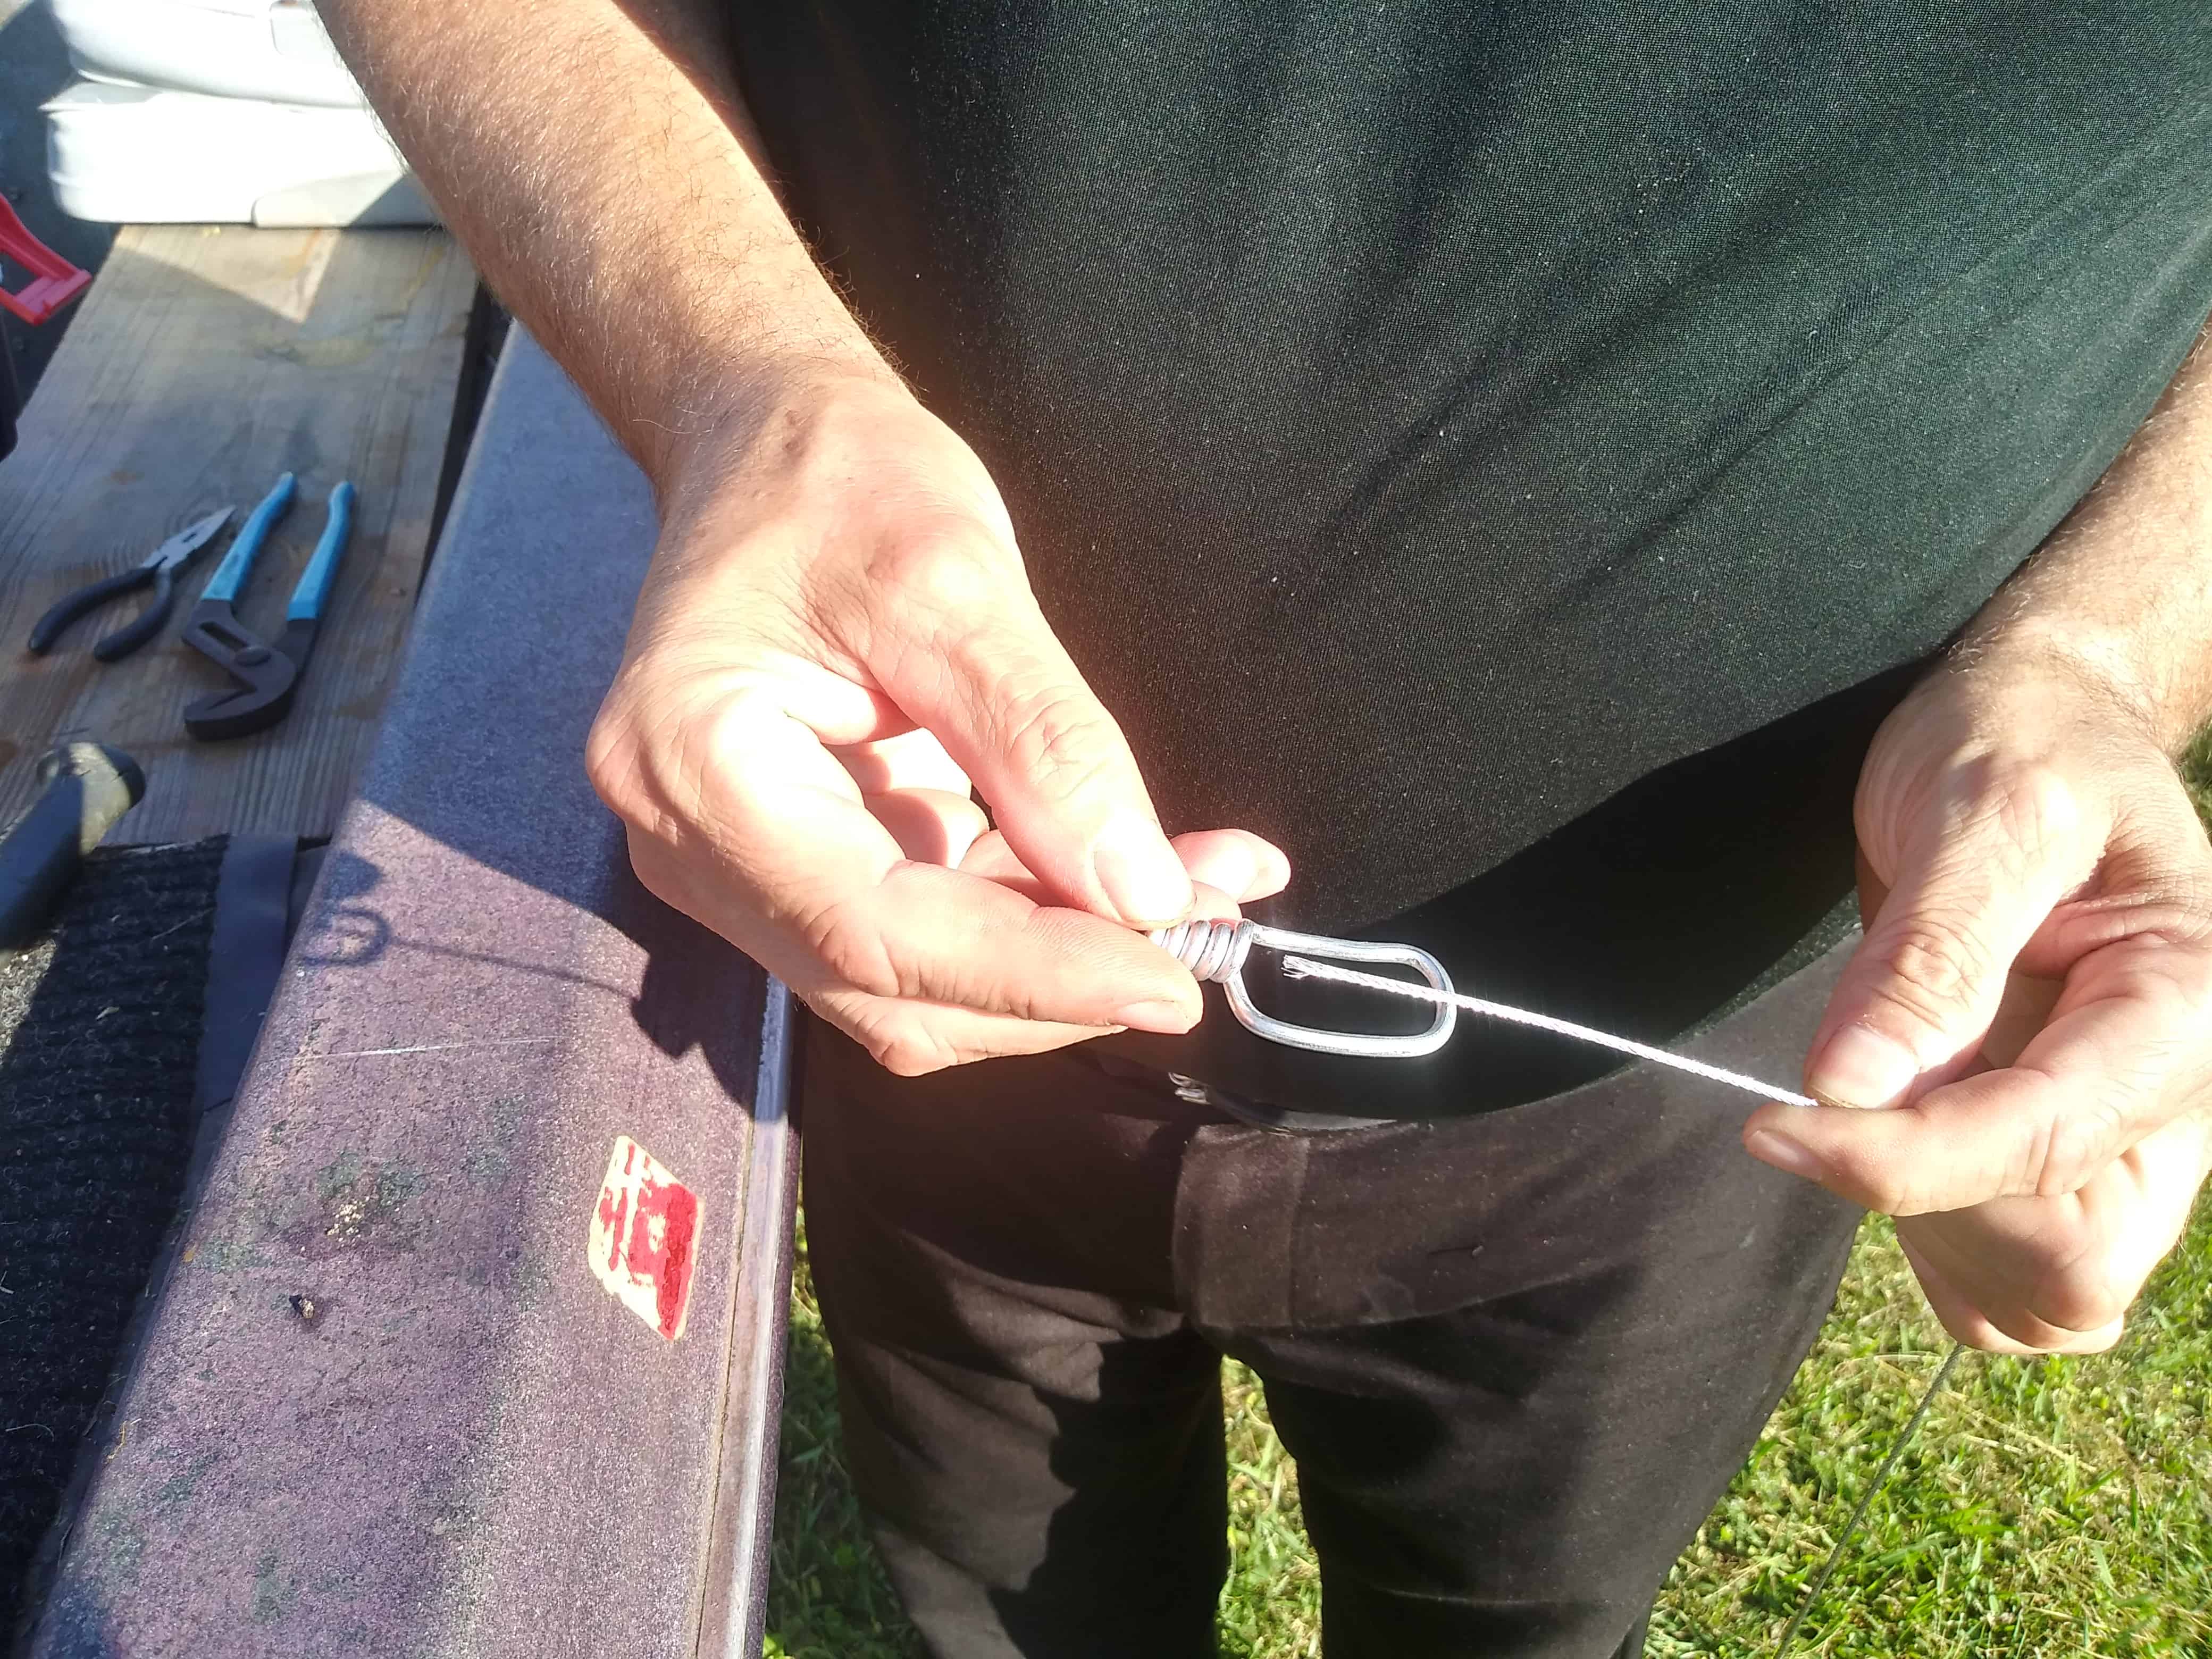
Step Six: Class the shepherds cane.
This is a critical role, you need to get this correct. Don't get discouraged though, practise makes perfect. 60% of all people have difficulty i getting this the first fourth dimension. It took me many tries to become this right. Nigh anybody will prefect this with practice. This footstep ensure the micro lock sits correct on the snare and closes in the best possible fashion with speed.
Stride Six Office 1:
with all the hardware on the bottom end, hold the snare in ane hand loosely. Let the cablevision to "naturally" lay beyond your manus or finger. You lot will discover that it will fall into its "natural" form. From having been on a spool information technology has a curve to information technology, allow the cable to have that natural curve.
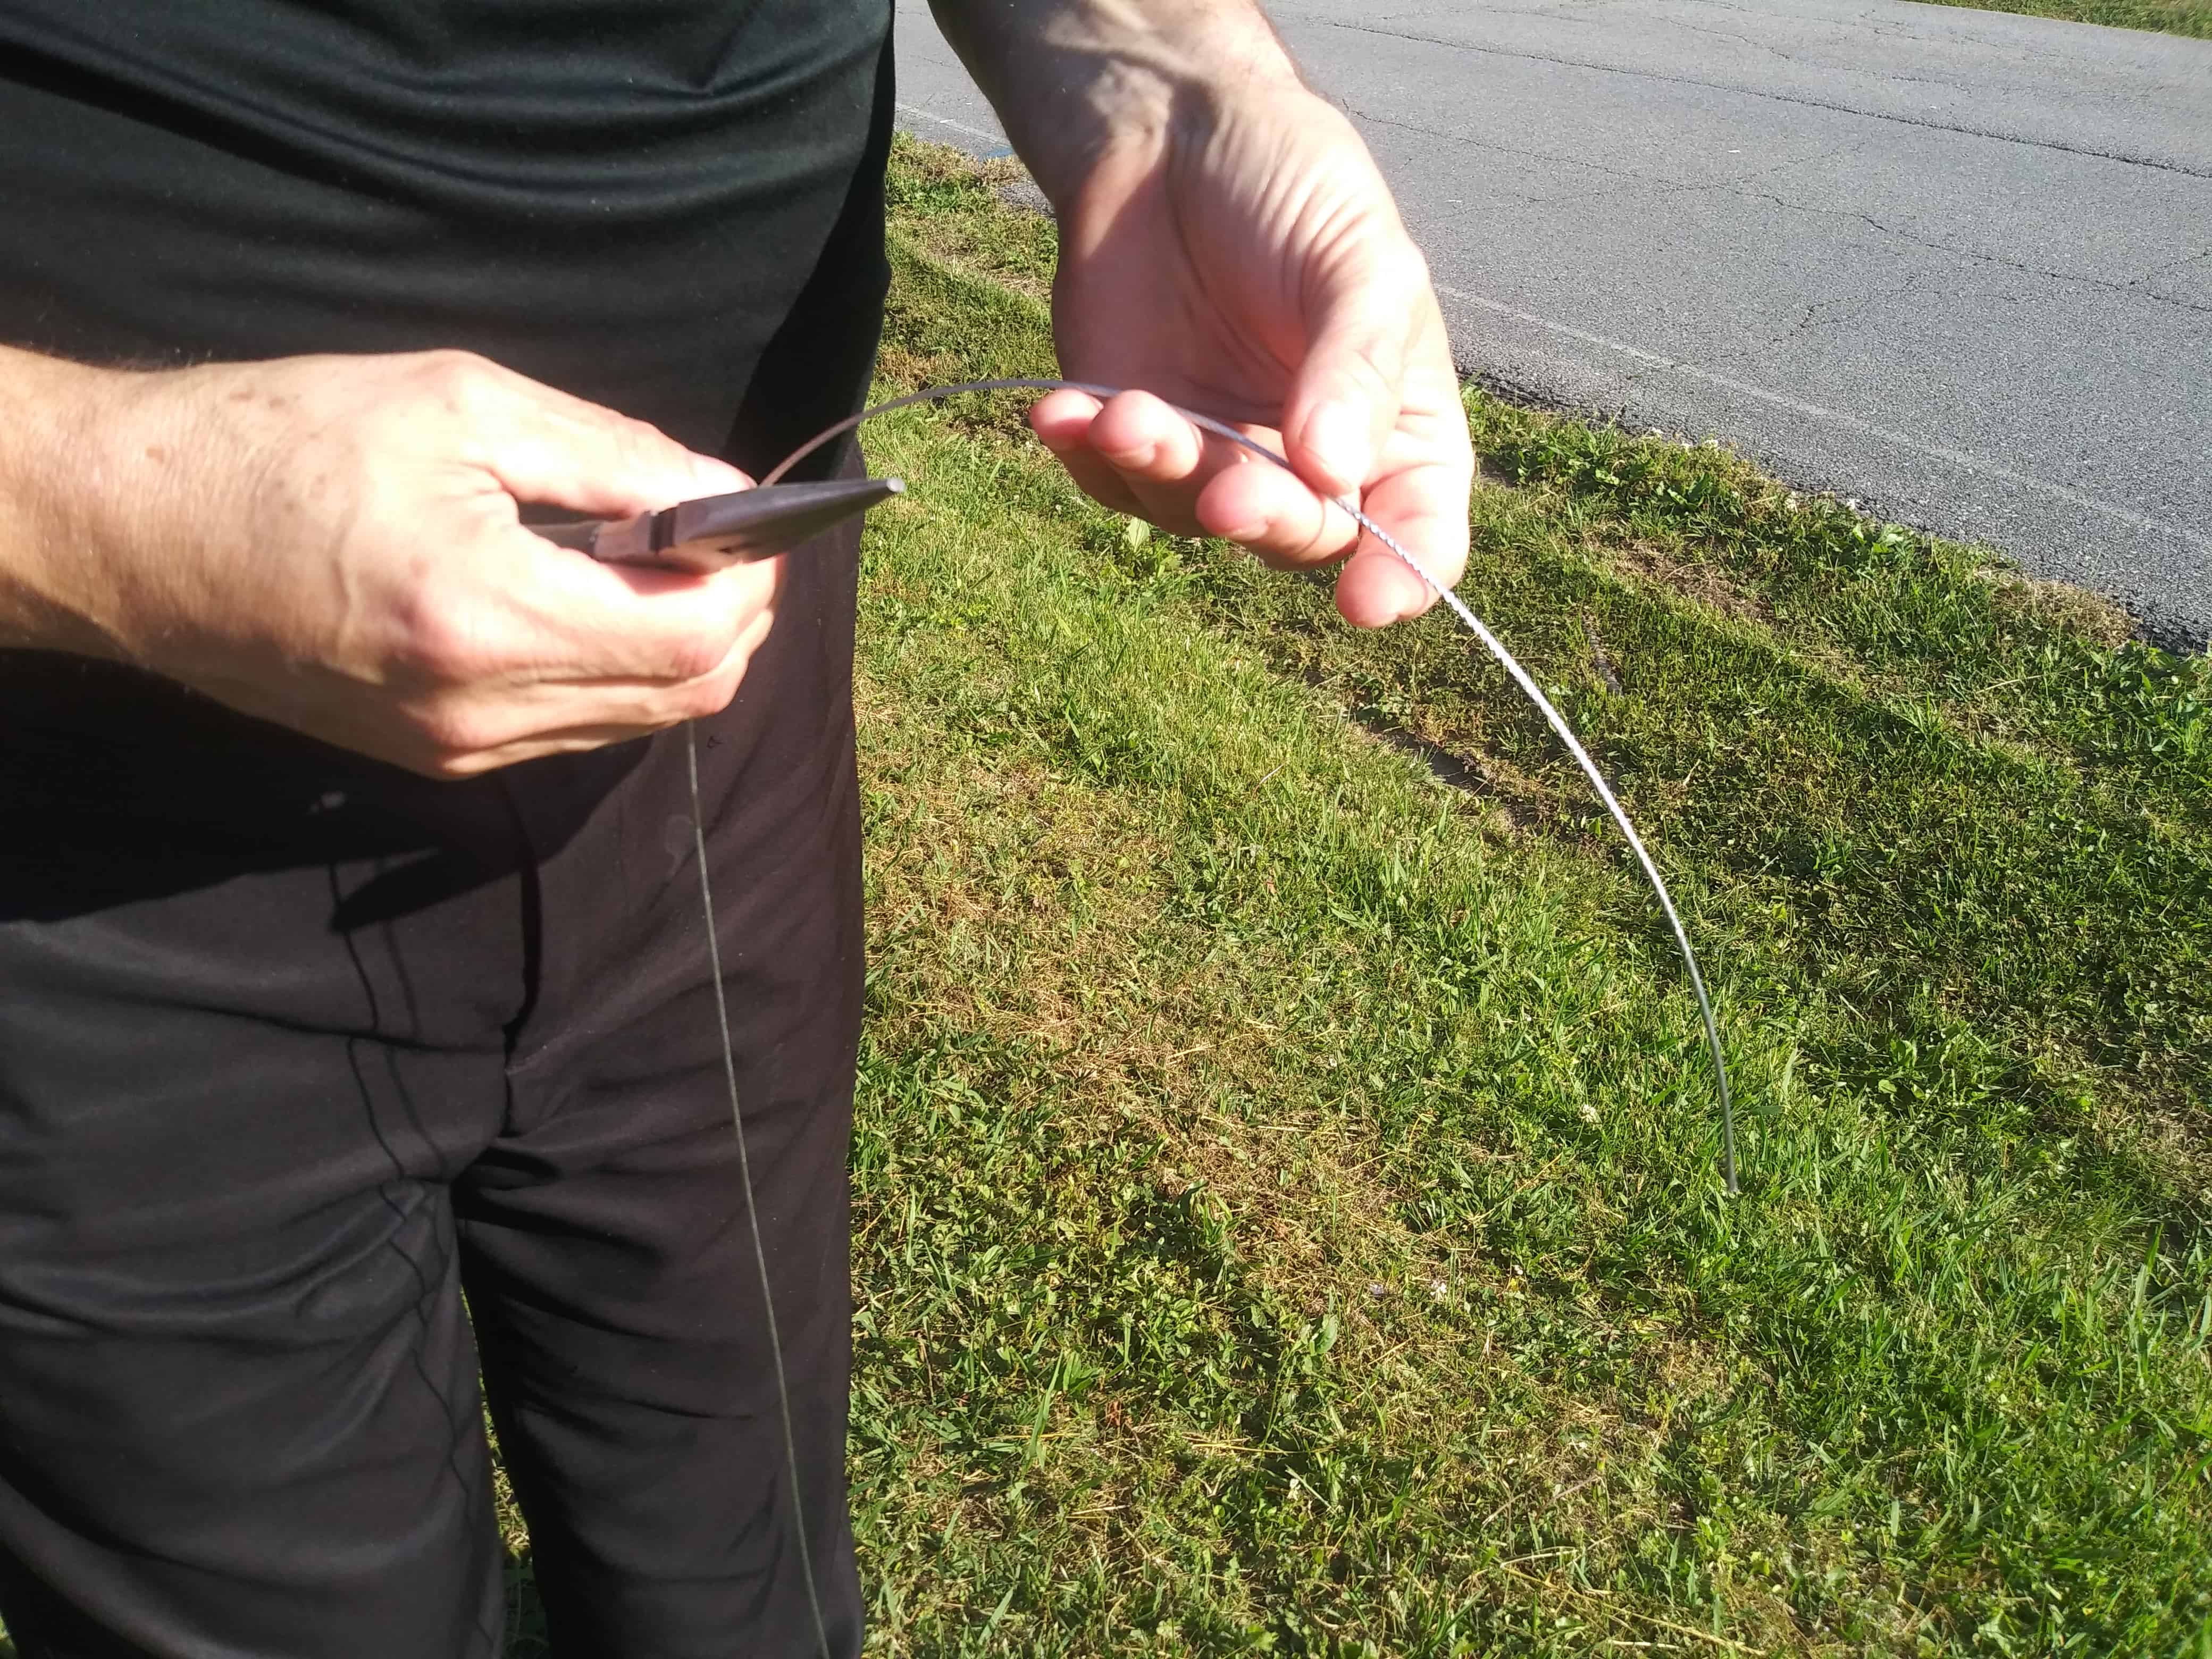
Once you lot have determined the natural curve or "lay" of the cable it is fourth dimension to make that Shepherds Pikestaff.
Stride 6 Part Two:
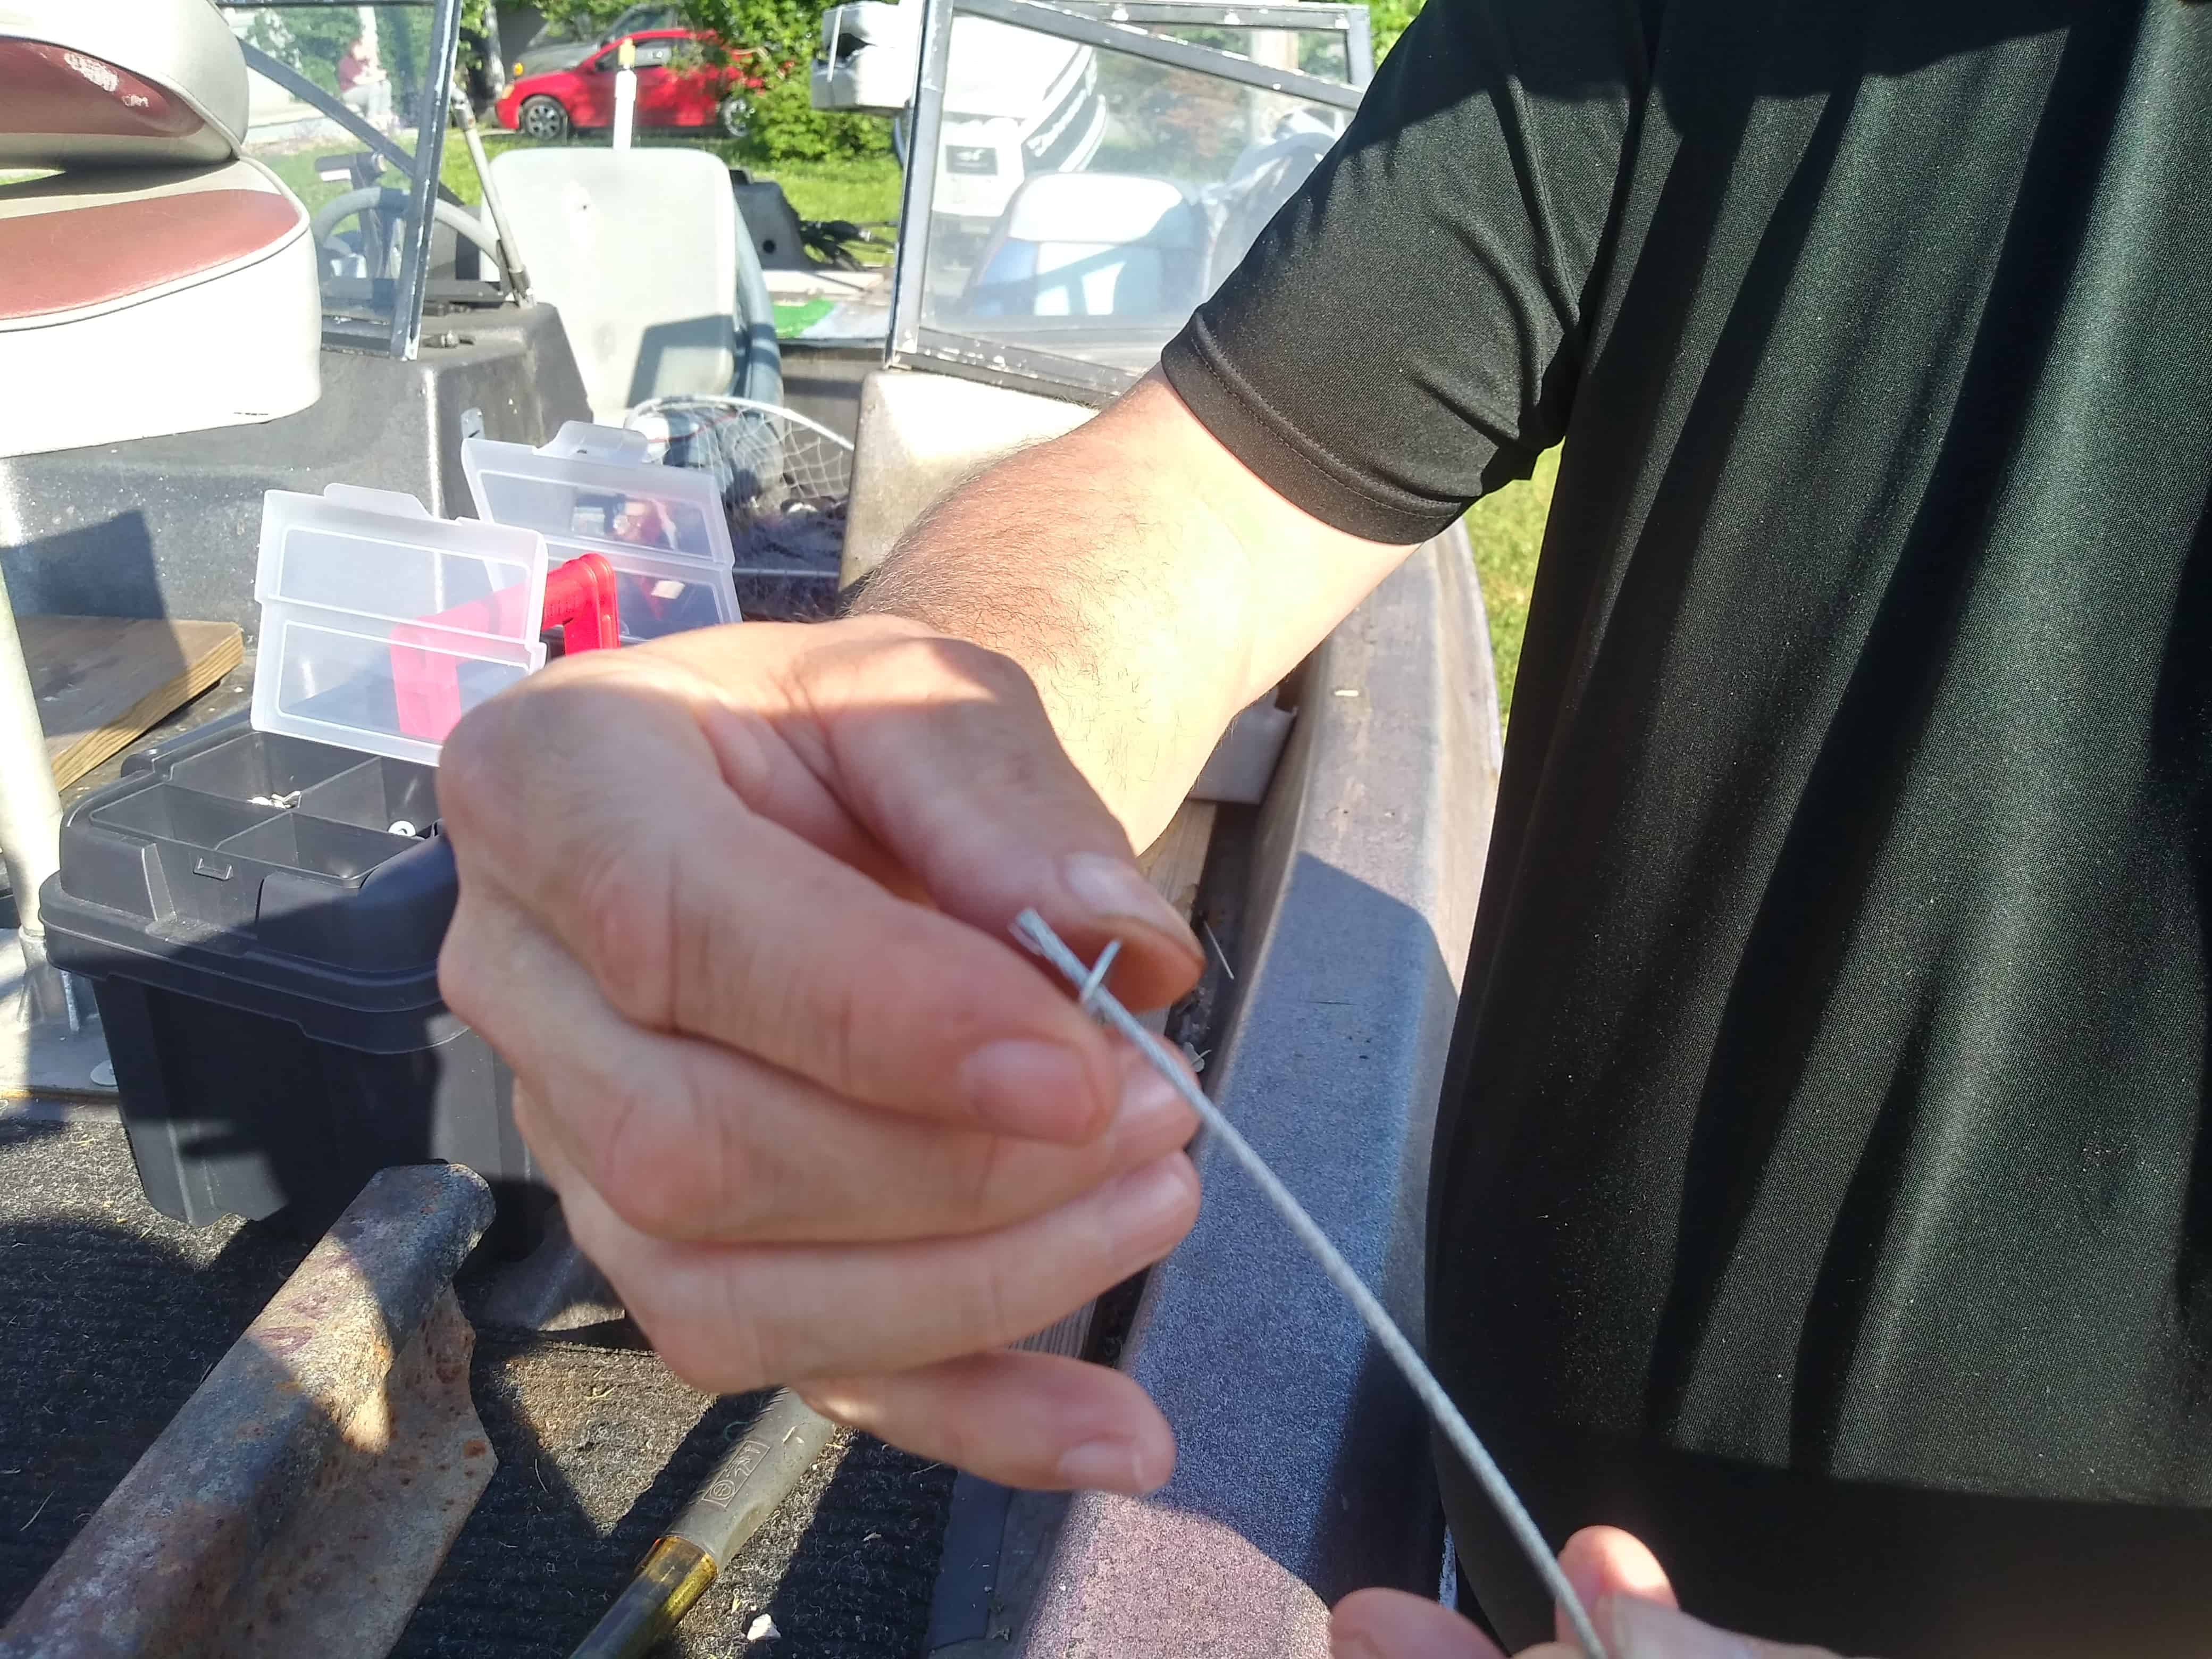
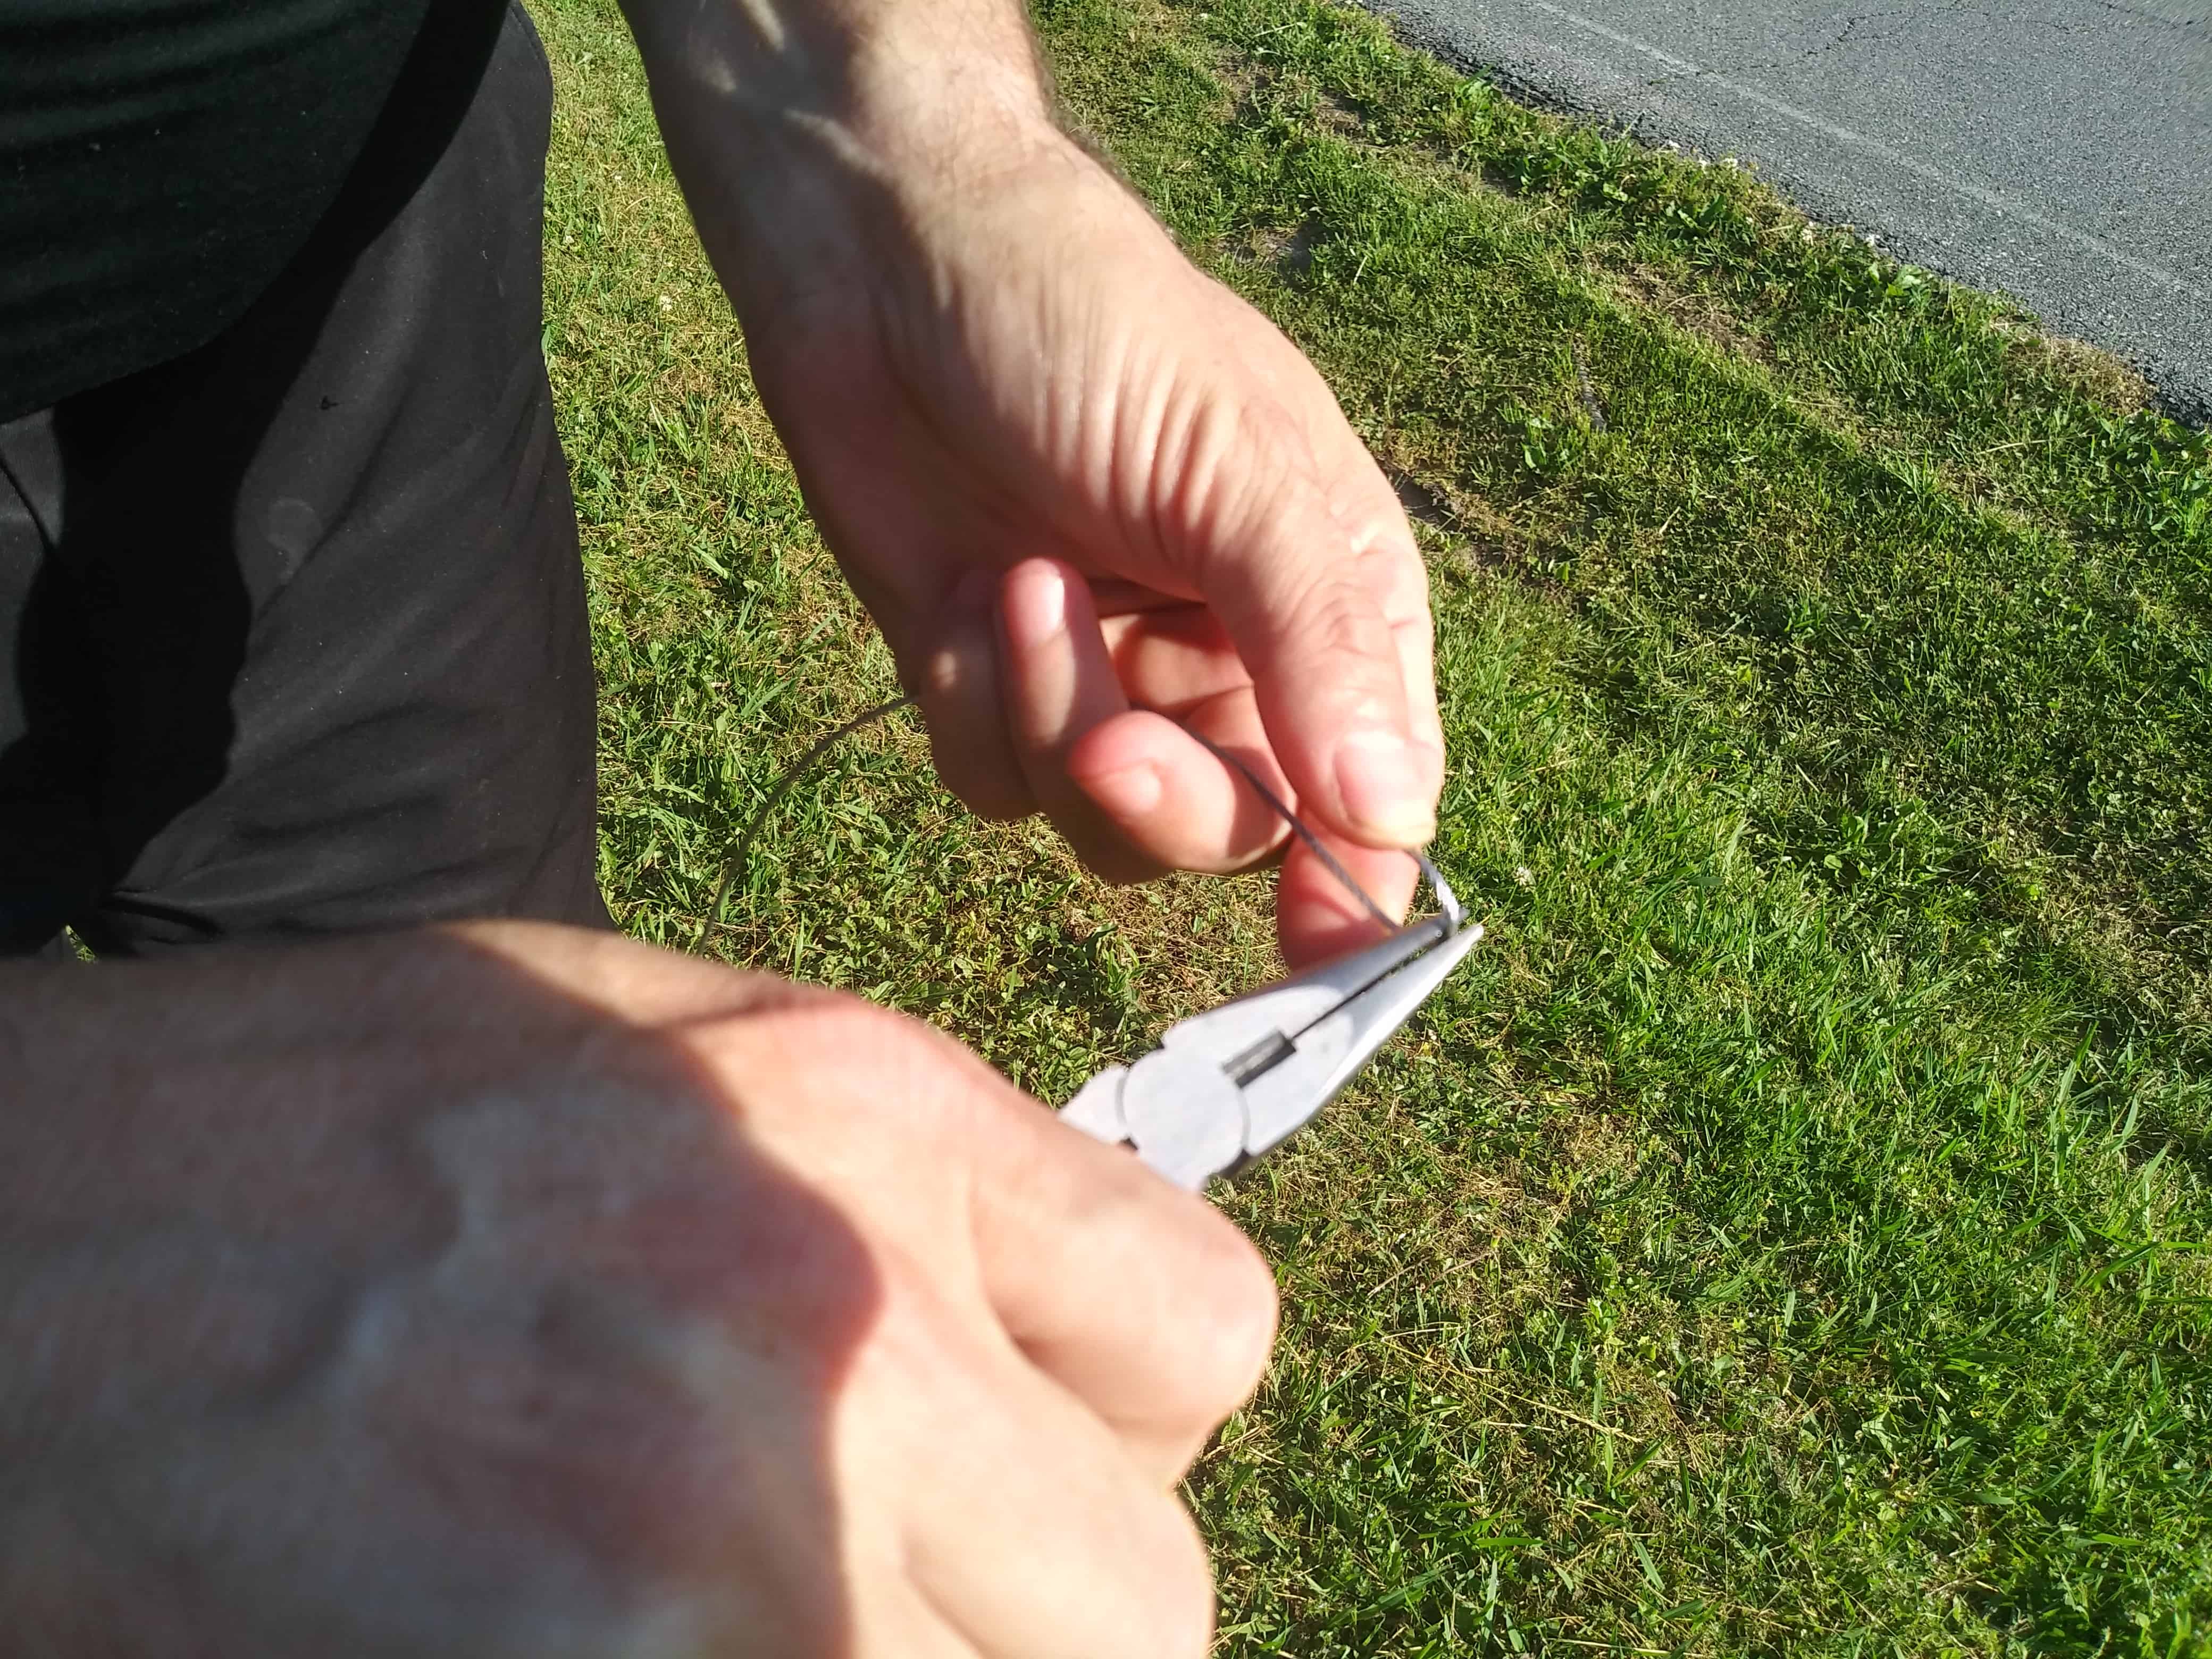
Keeping the cable in its natural lay, use a pair of needle olfactory organ pliers to grip the cable at a right or left manus (depending on rather you lot are right or left handed of course) "level" position.
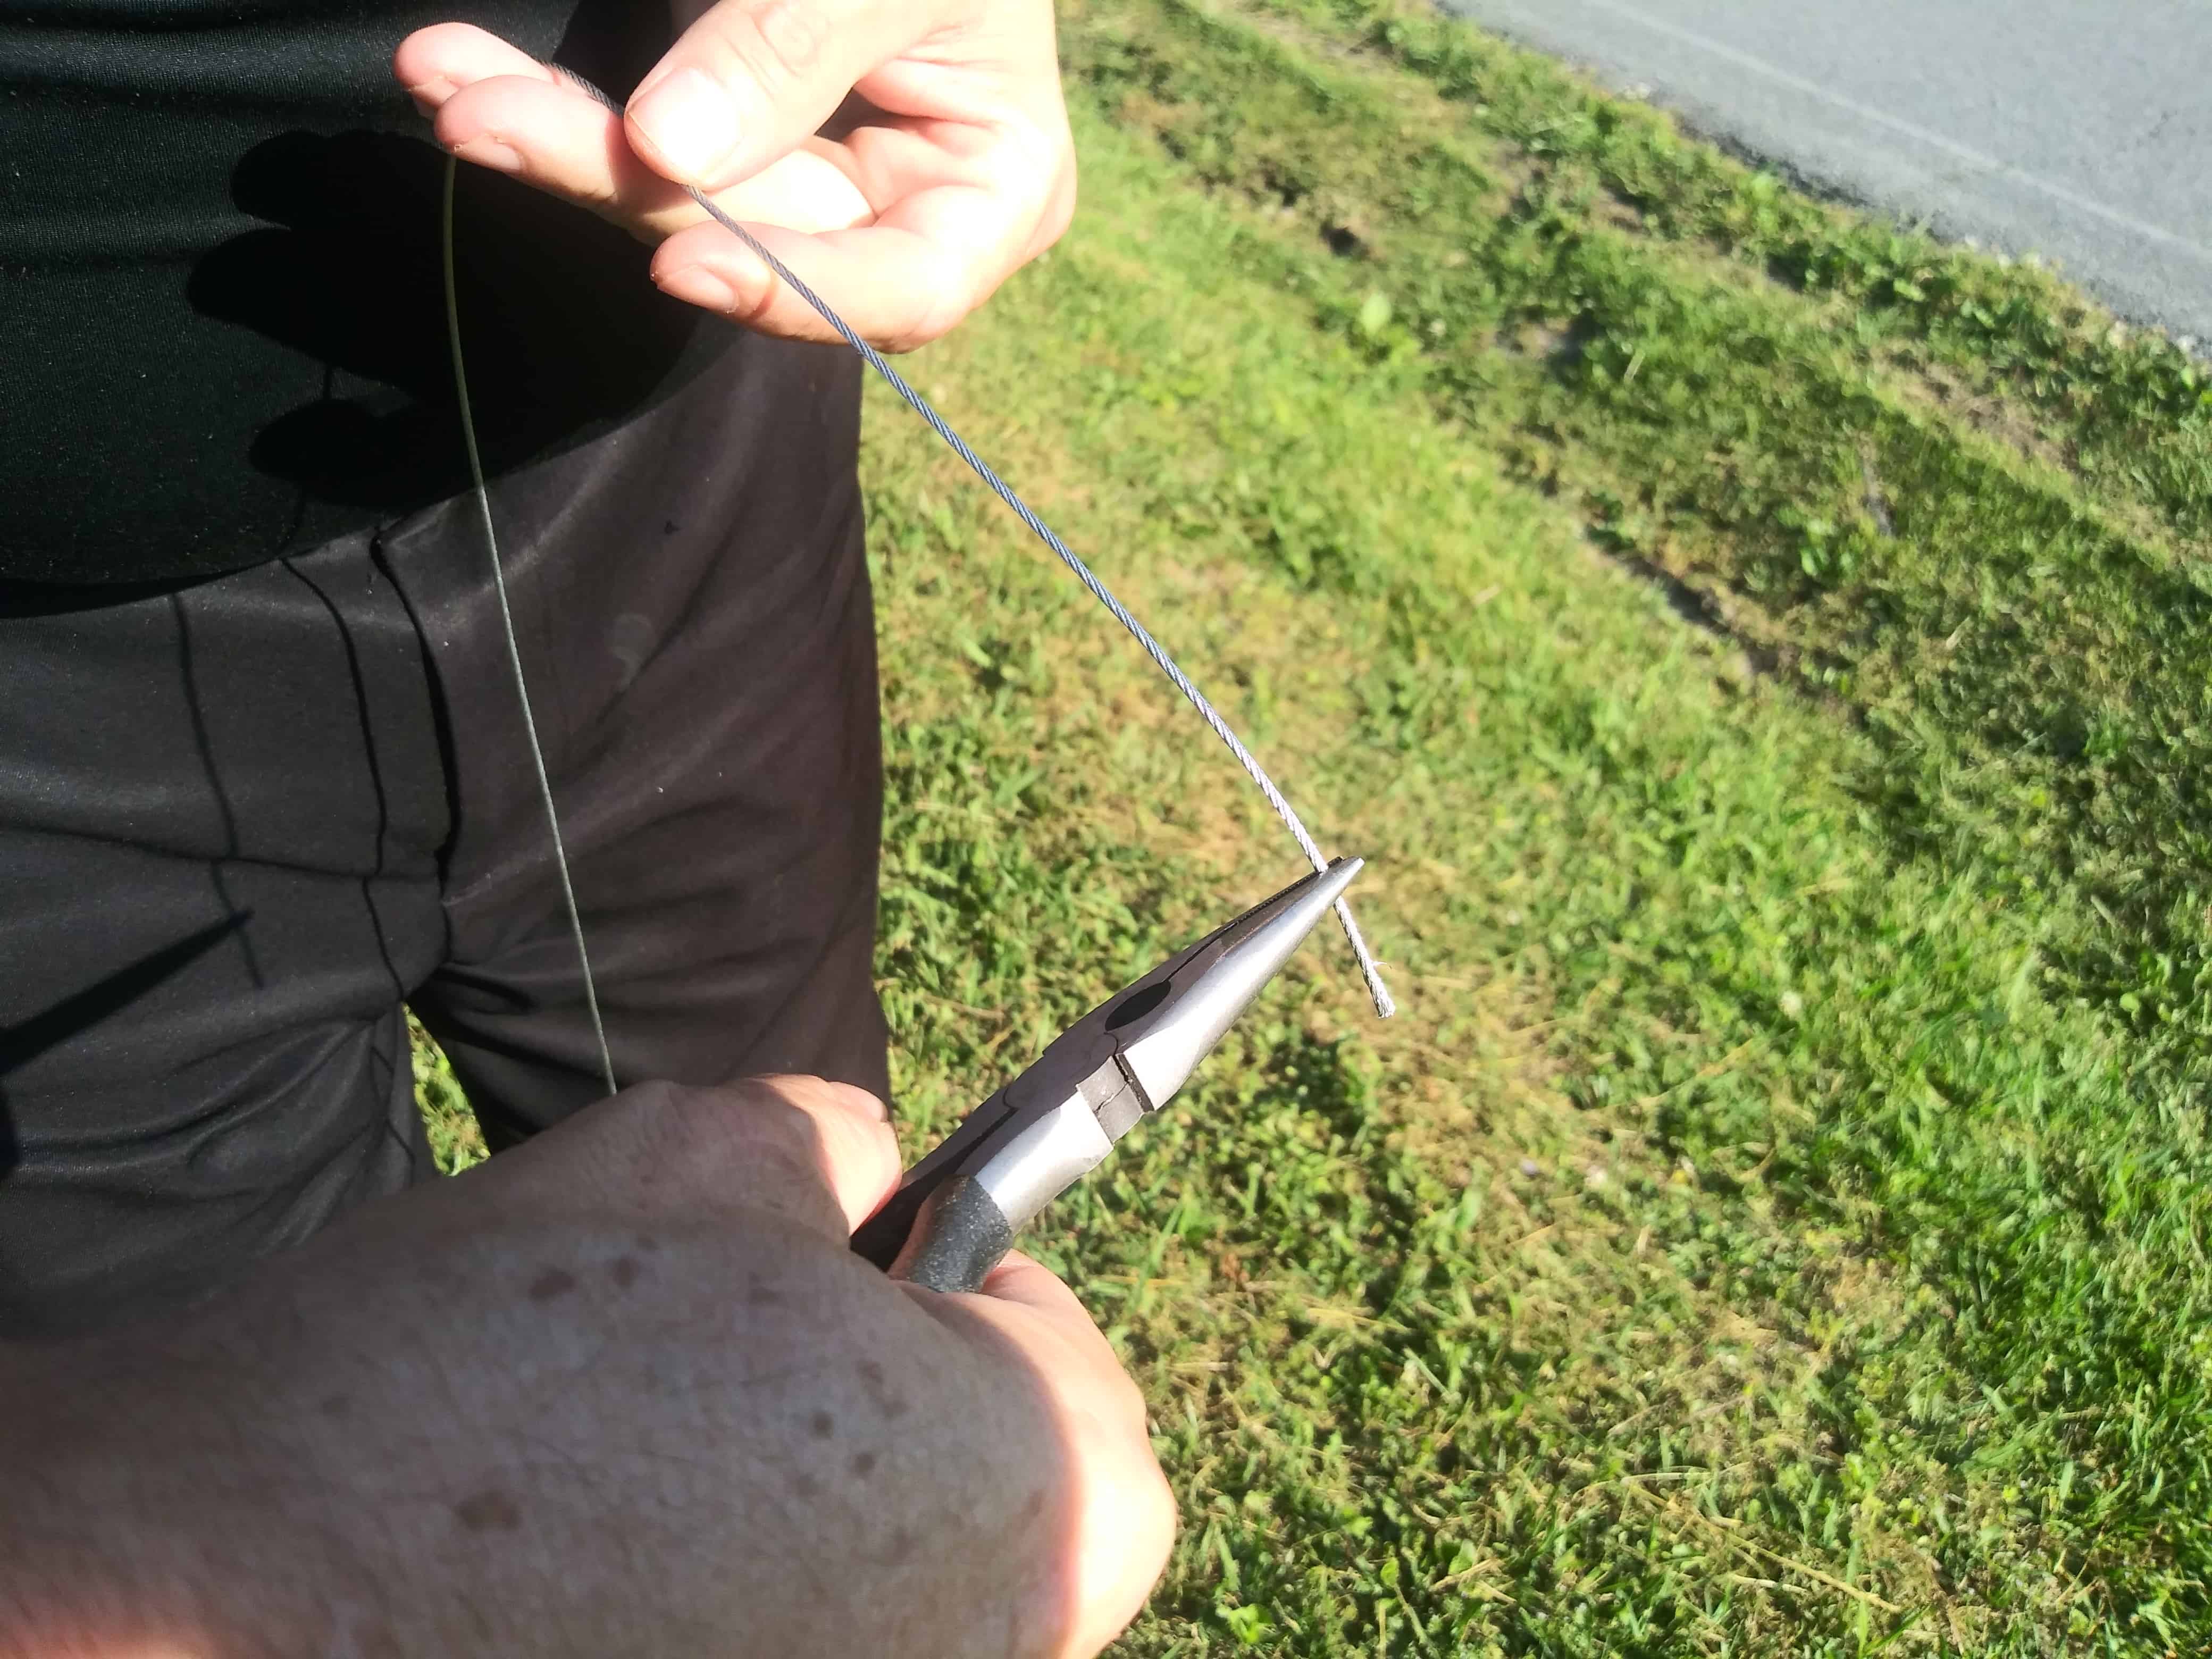
Now bend that cable dorsum toward you making sure your cable stays in its natural lay. Grip the terminate of the cable with your thumb as shown below.
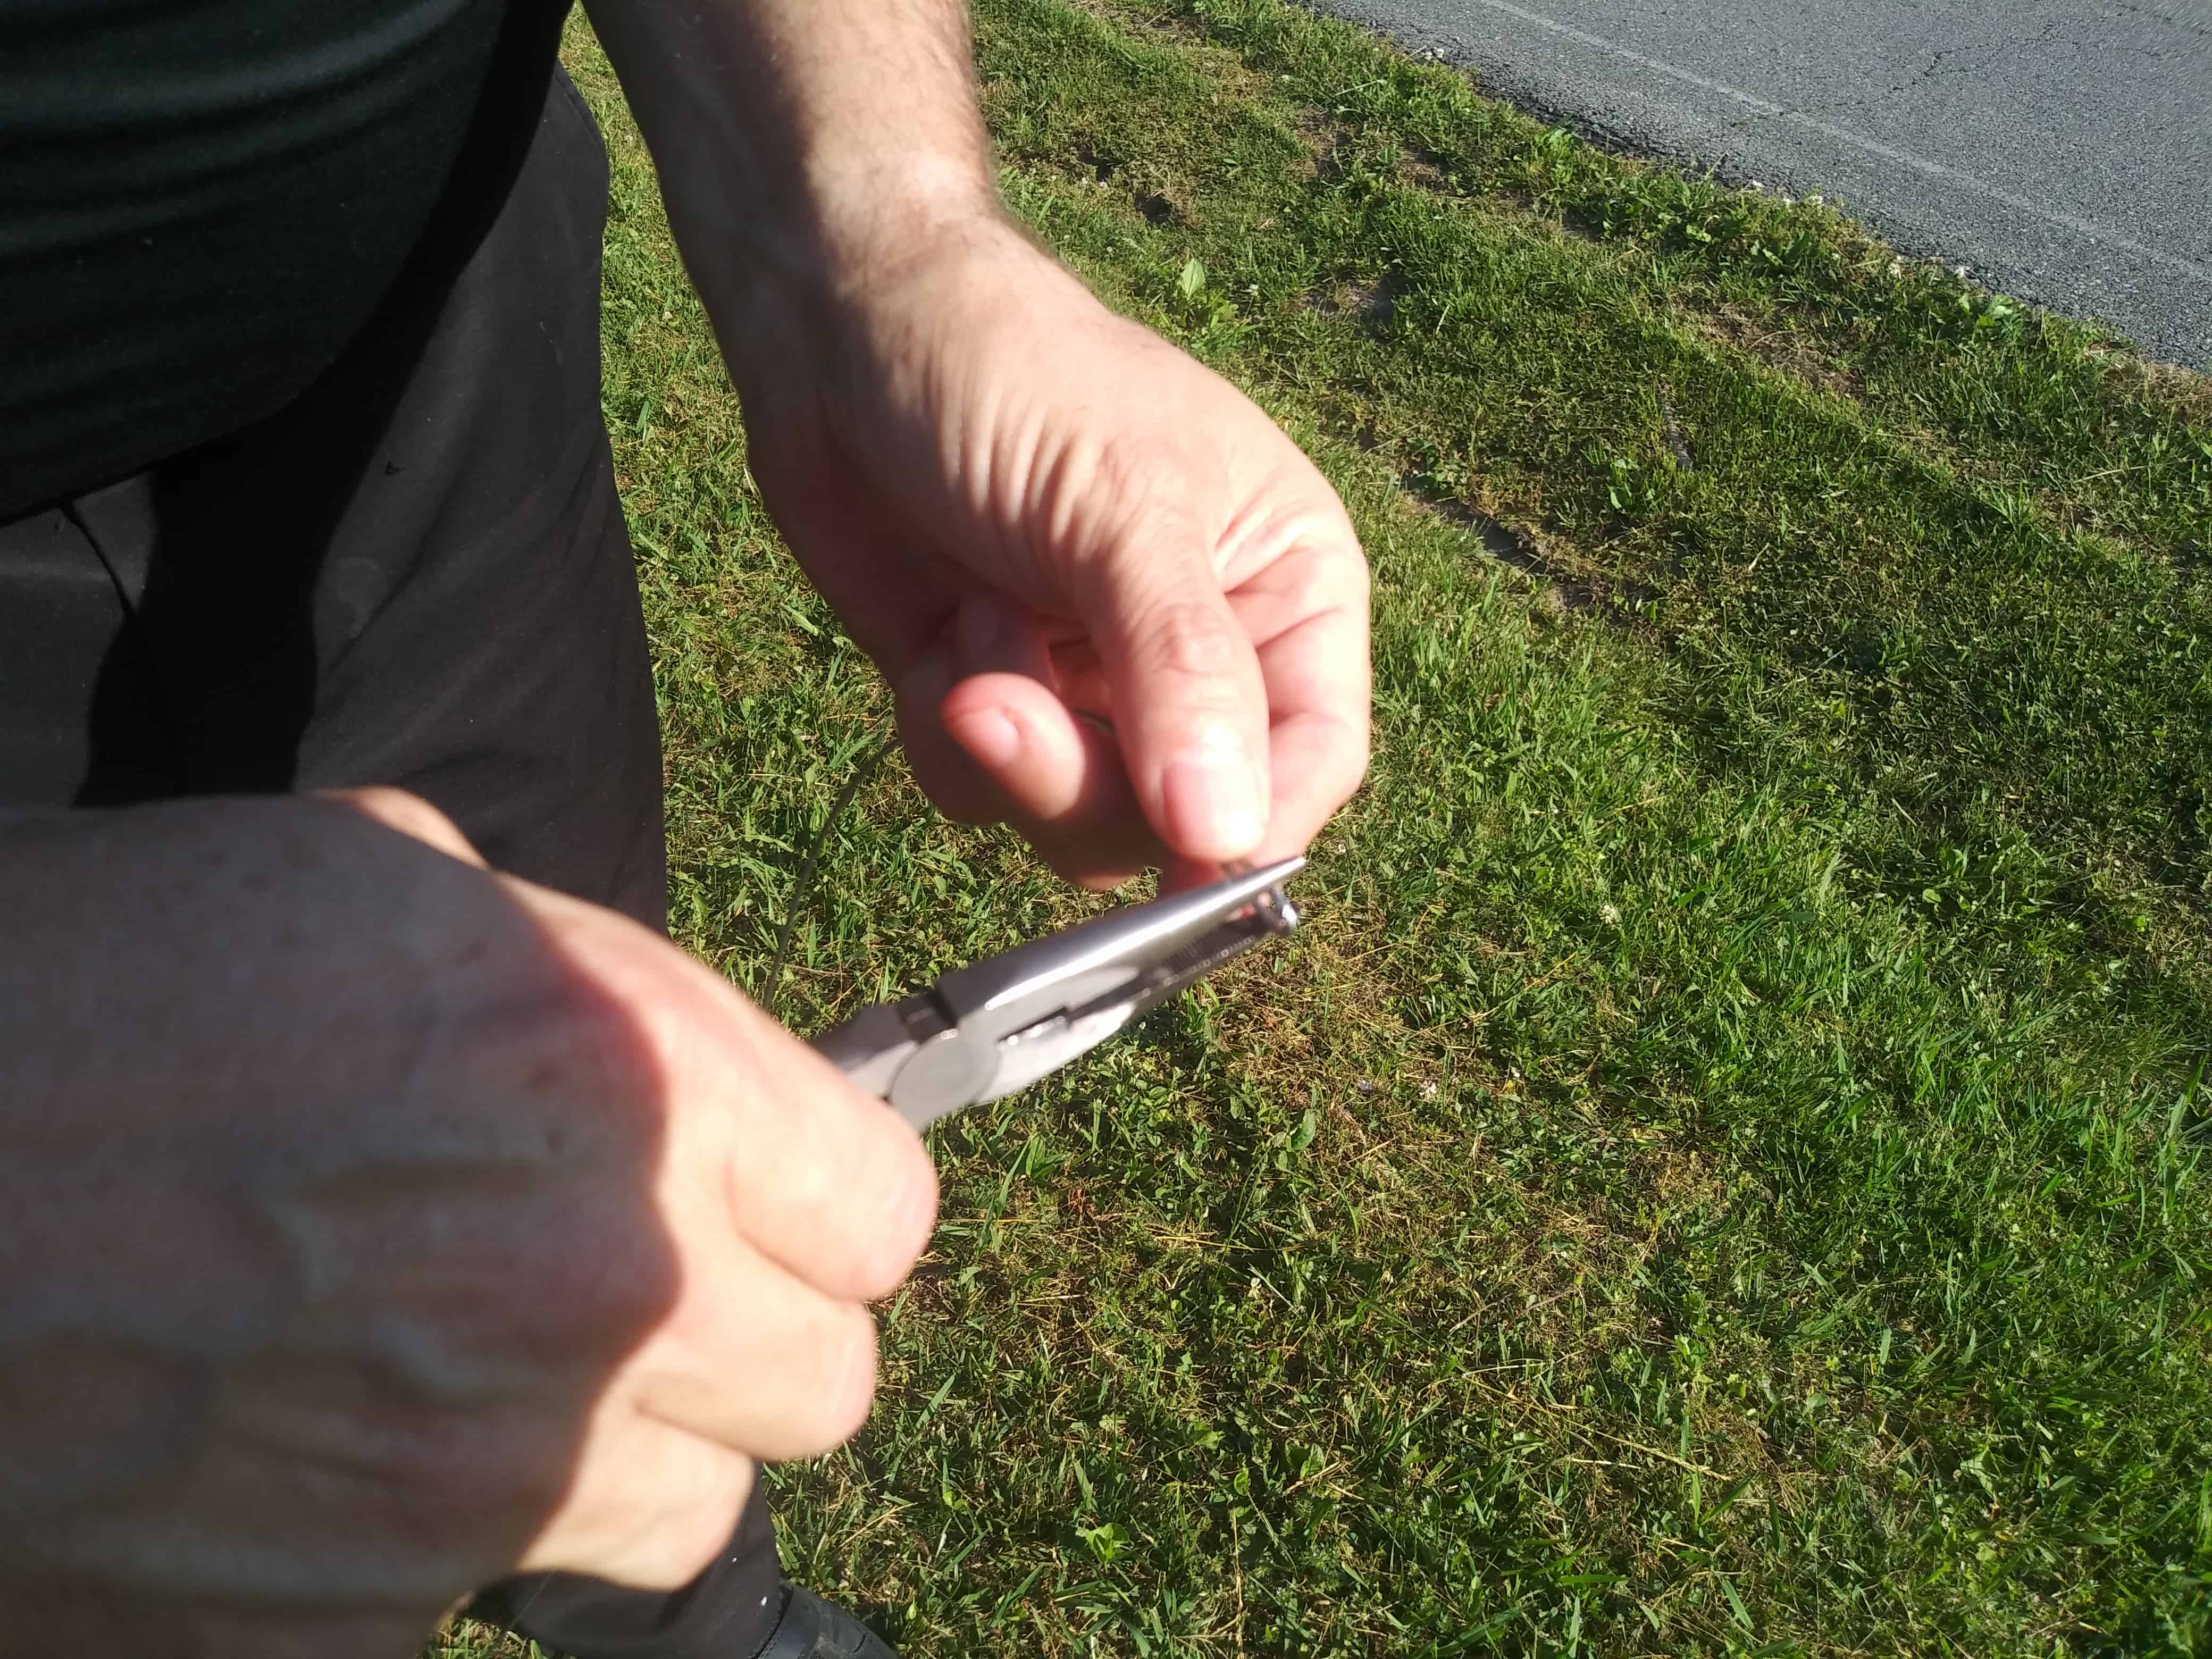
Step Six Part Three:
Now crimp the cable with the pliers. You want to form a ninety caste in the cable.
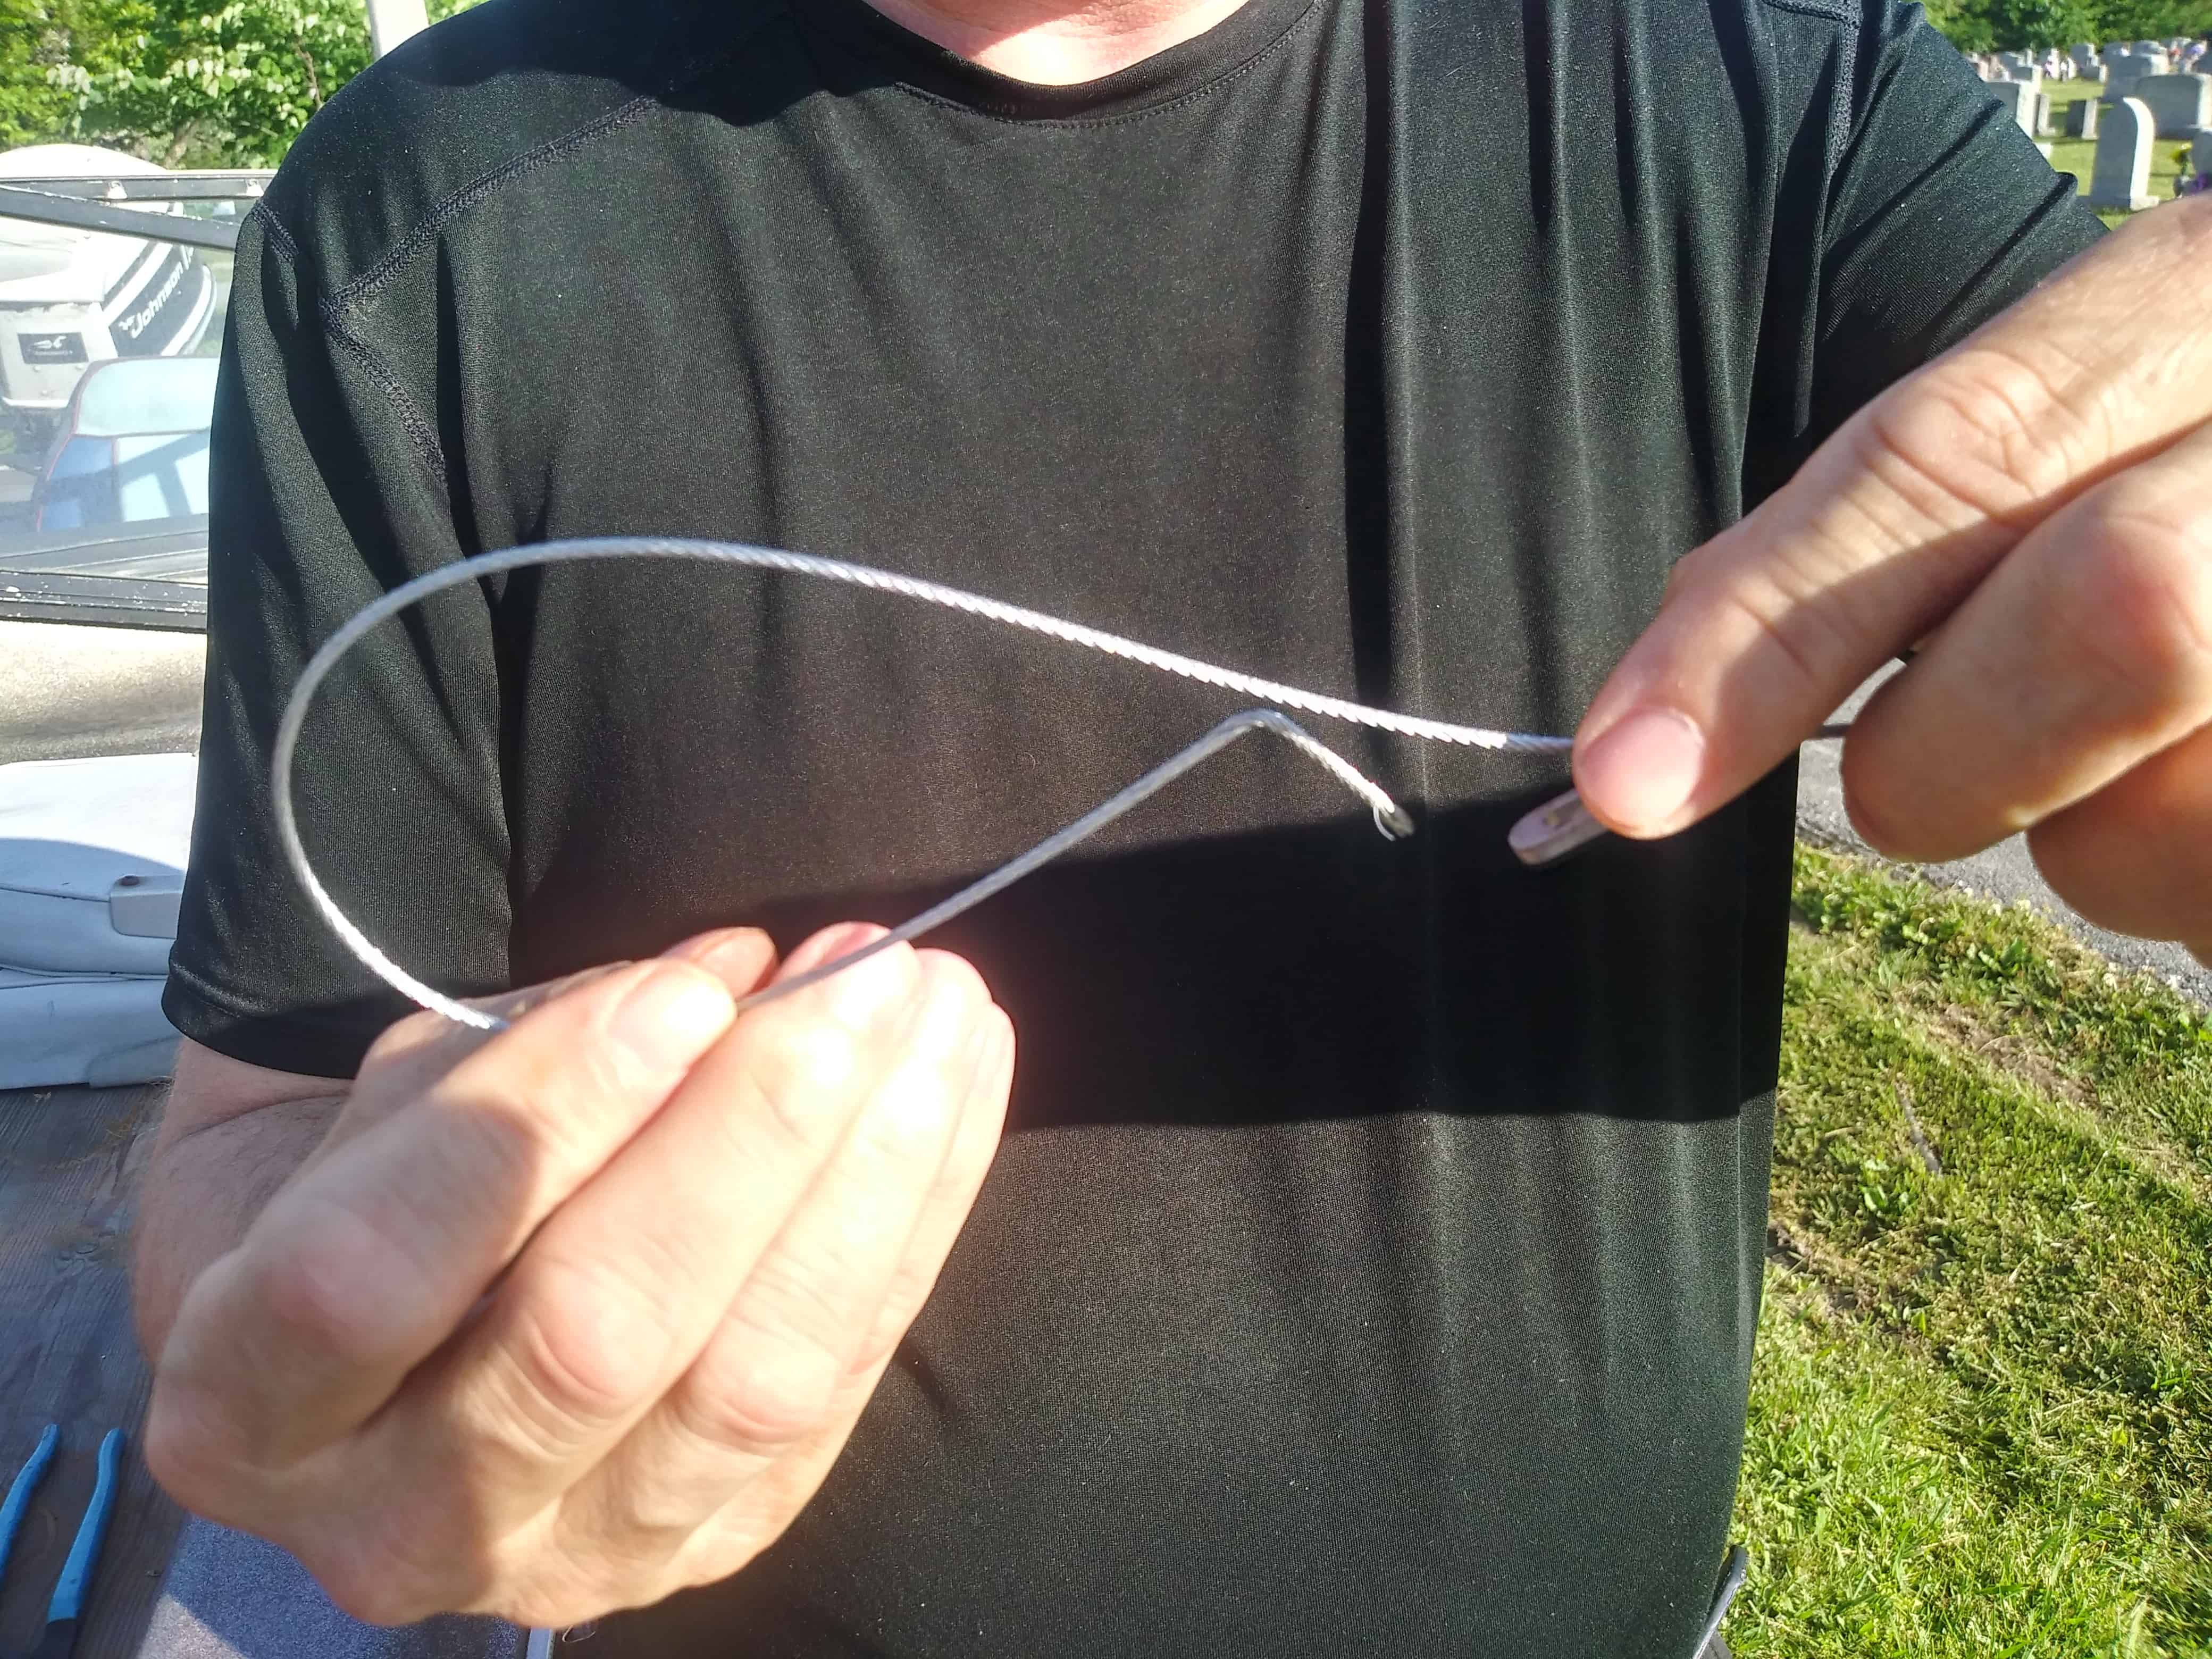
Once finished you should have a cable looking like this. Note the end of the cable, this sometimes happens. The solution is to simply cut that frayed section off and install your cease end. Another solution we plant is to use a nail punch i/xvi in diameter and lightly tap out the hole and so the cable starts in more easily. In addition you lot could drill a pilot pigsty approx 1/16 in in depth to start the cablevision in.
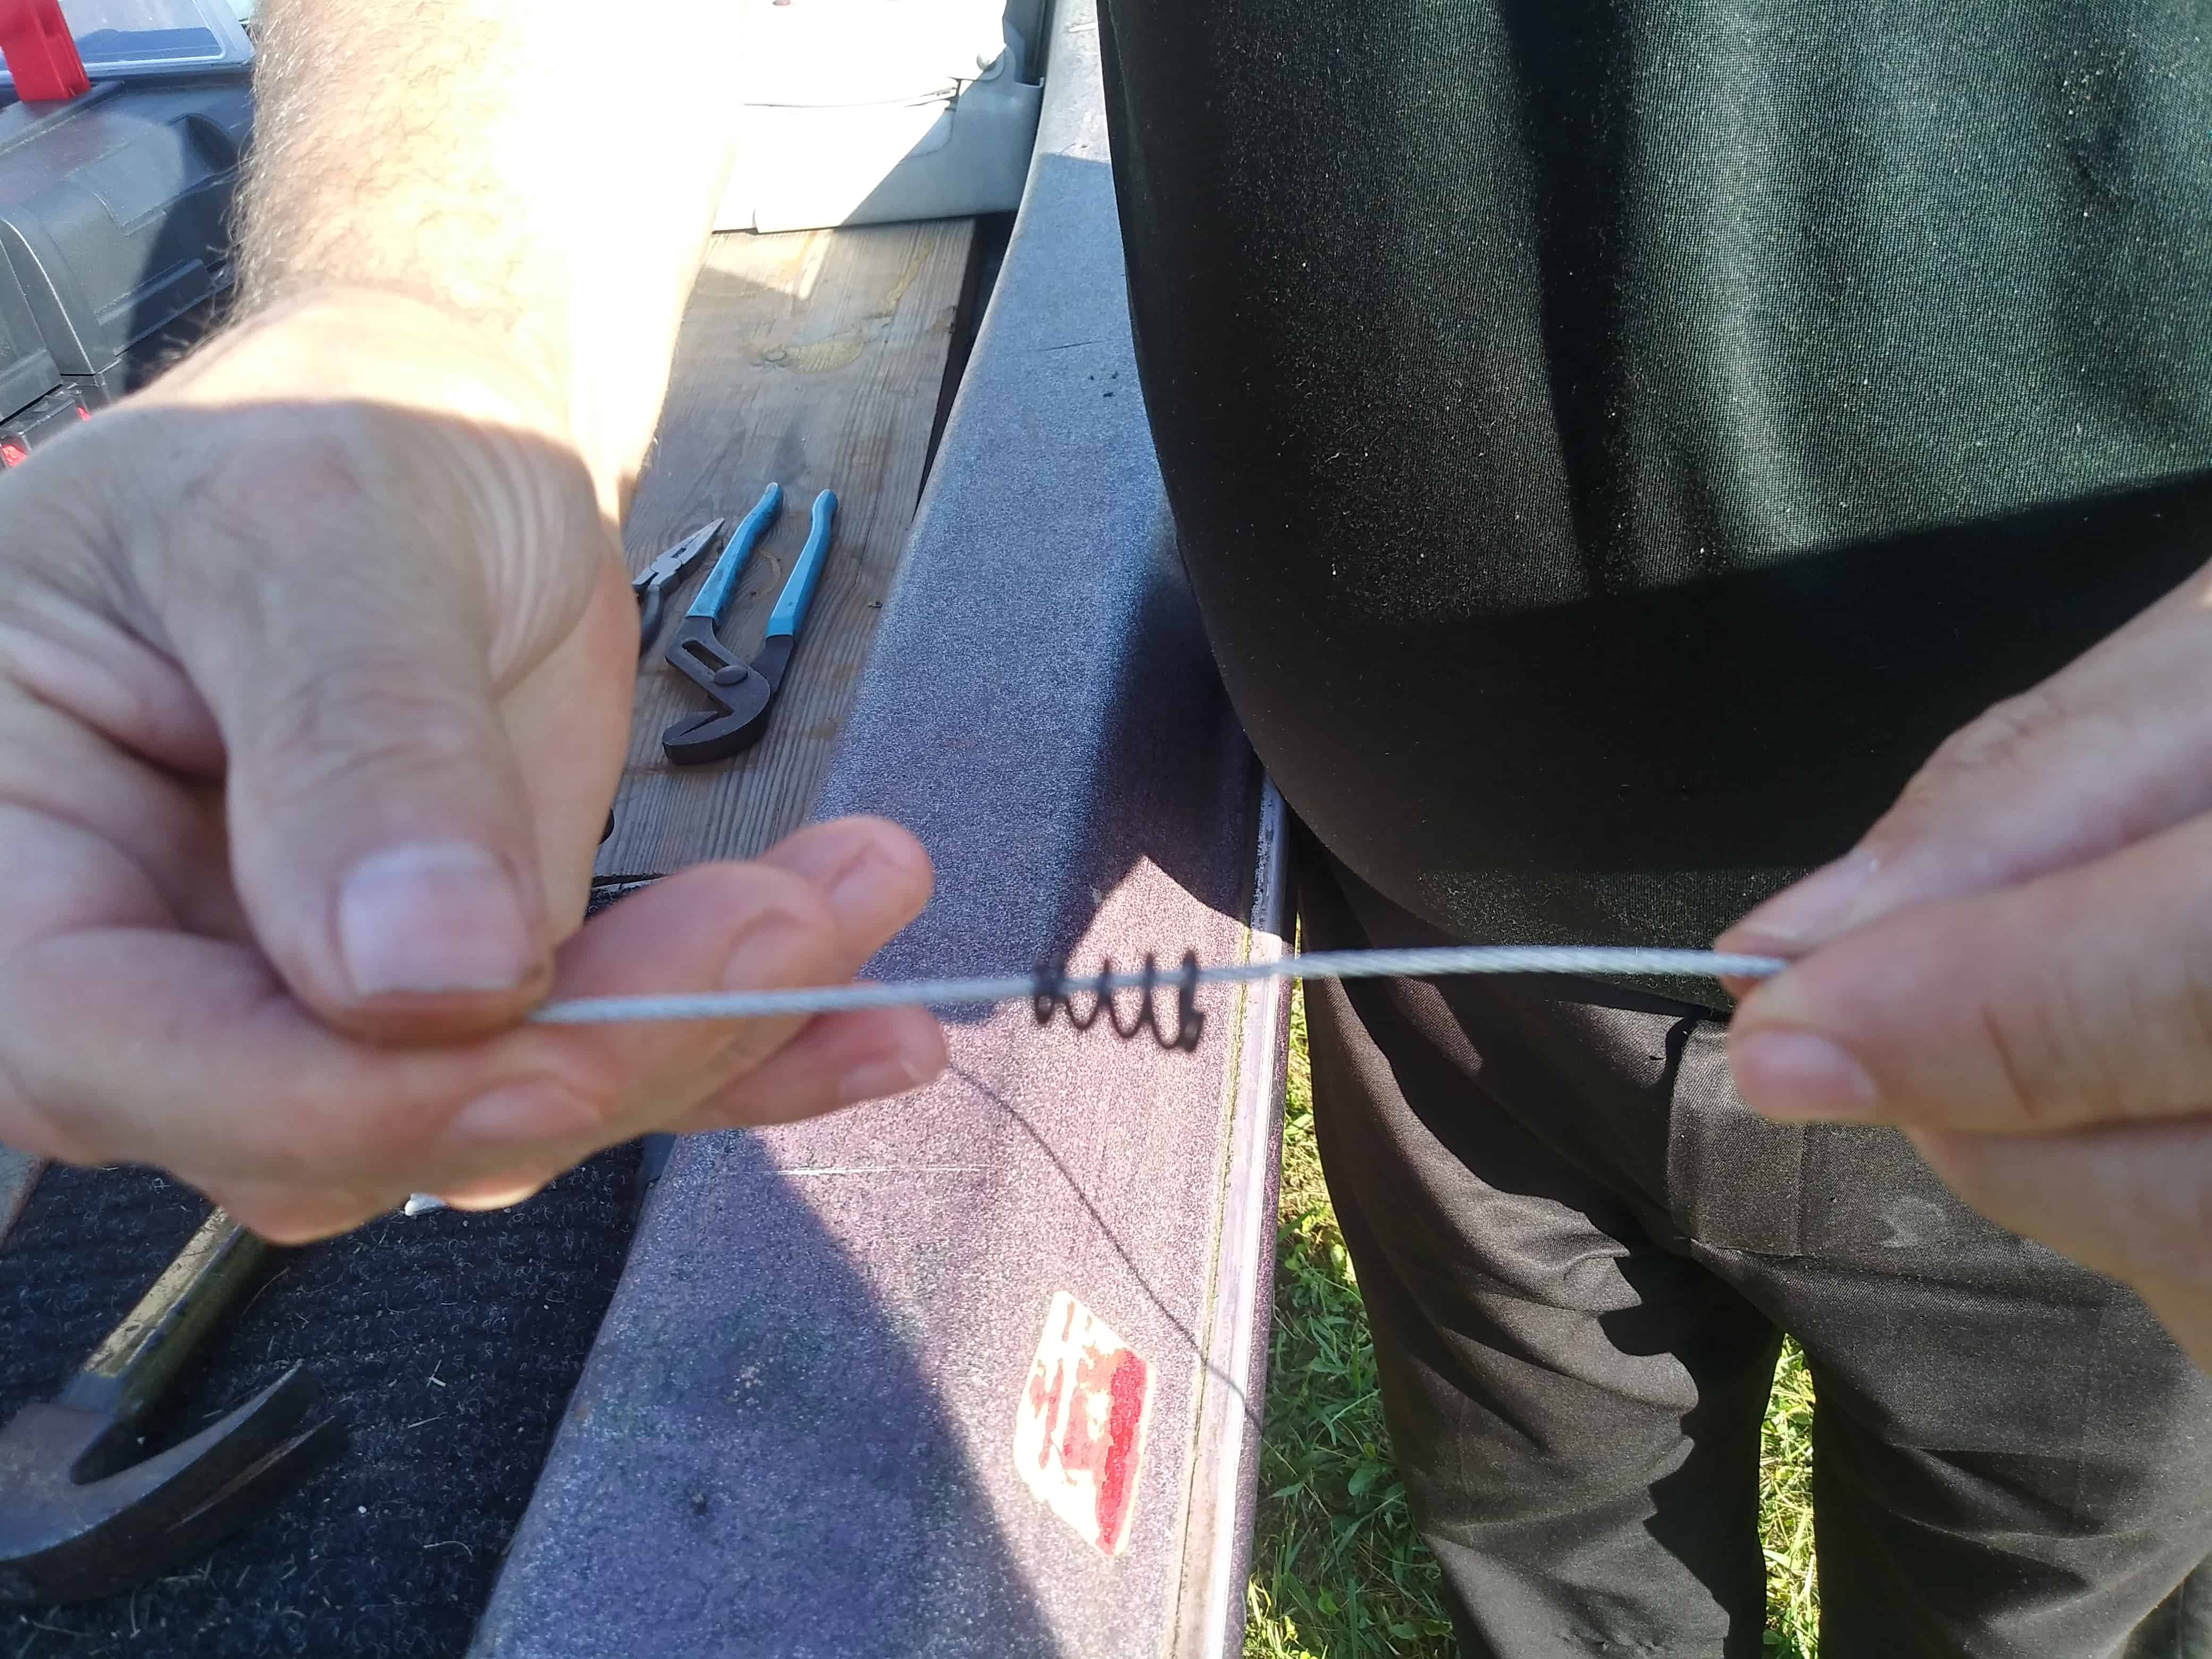
Step Half-dozen Part Four:
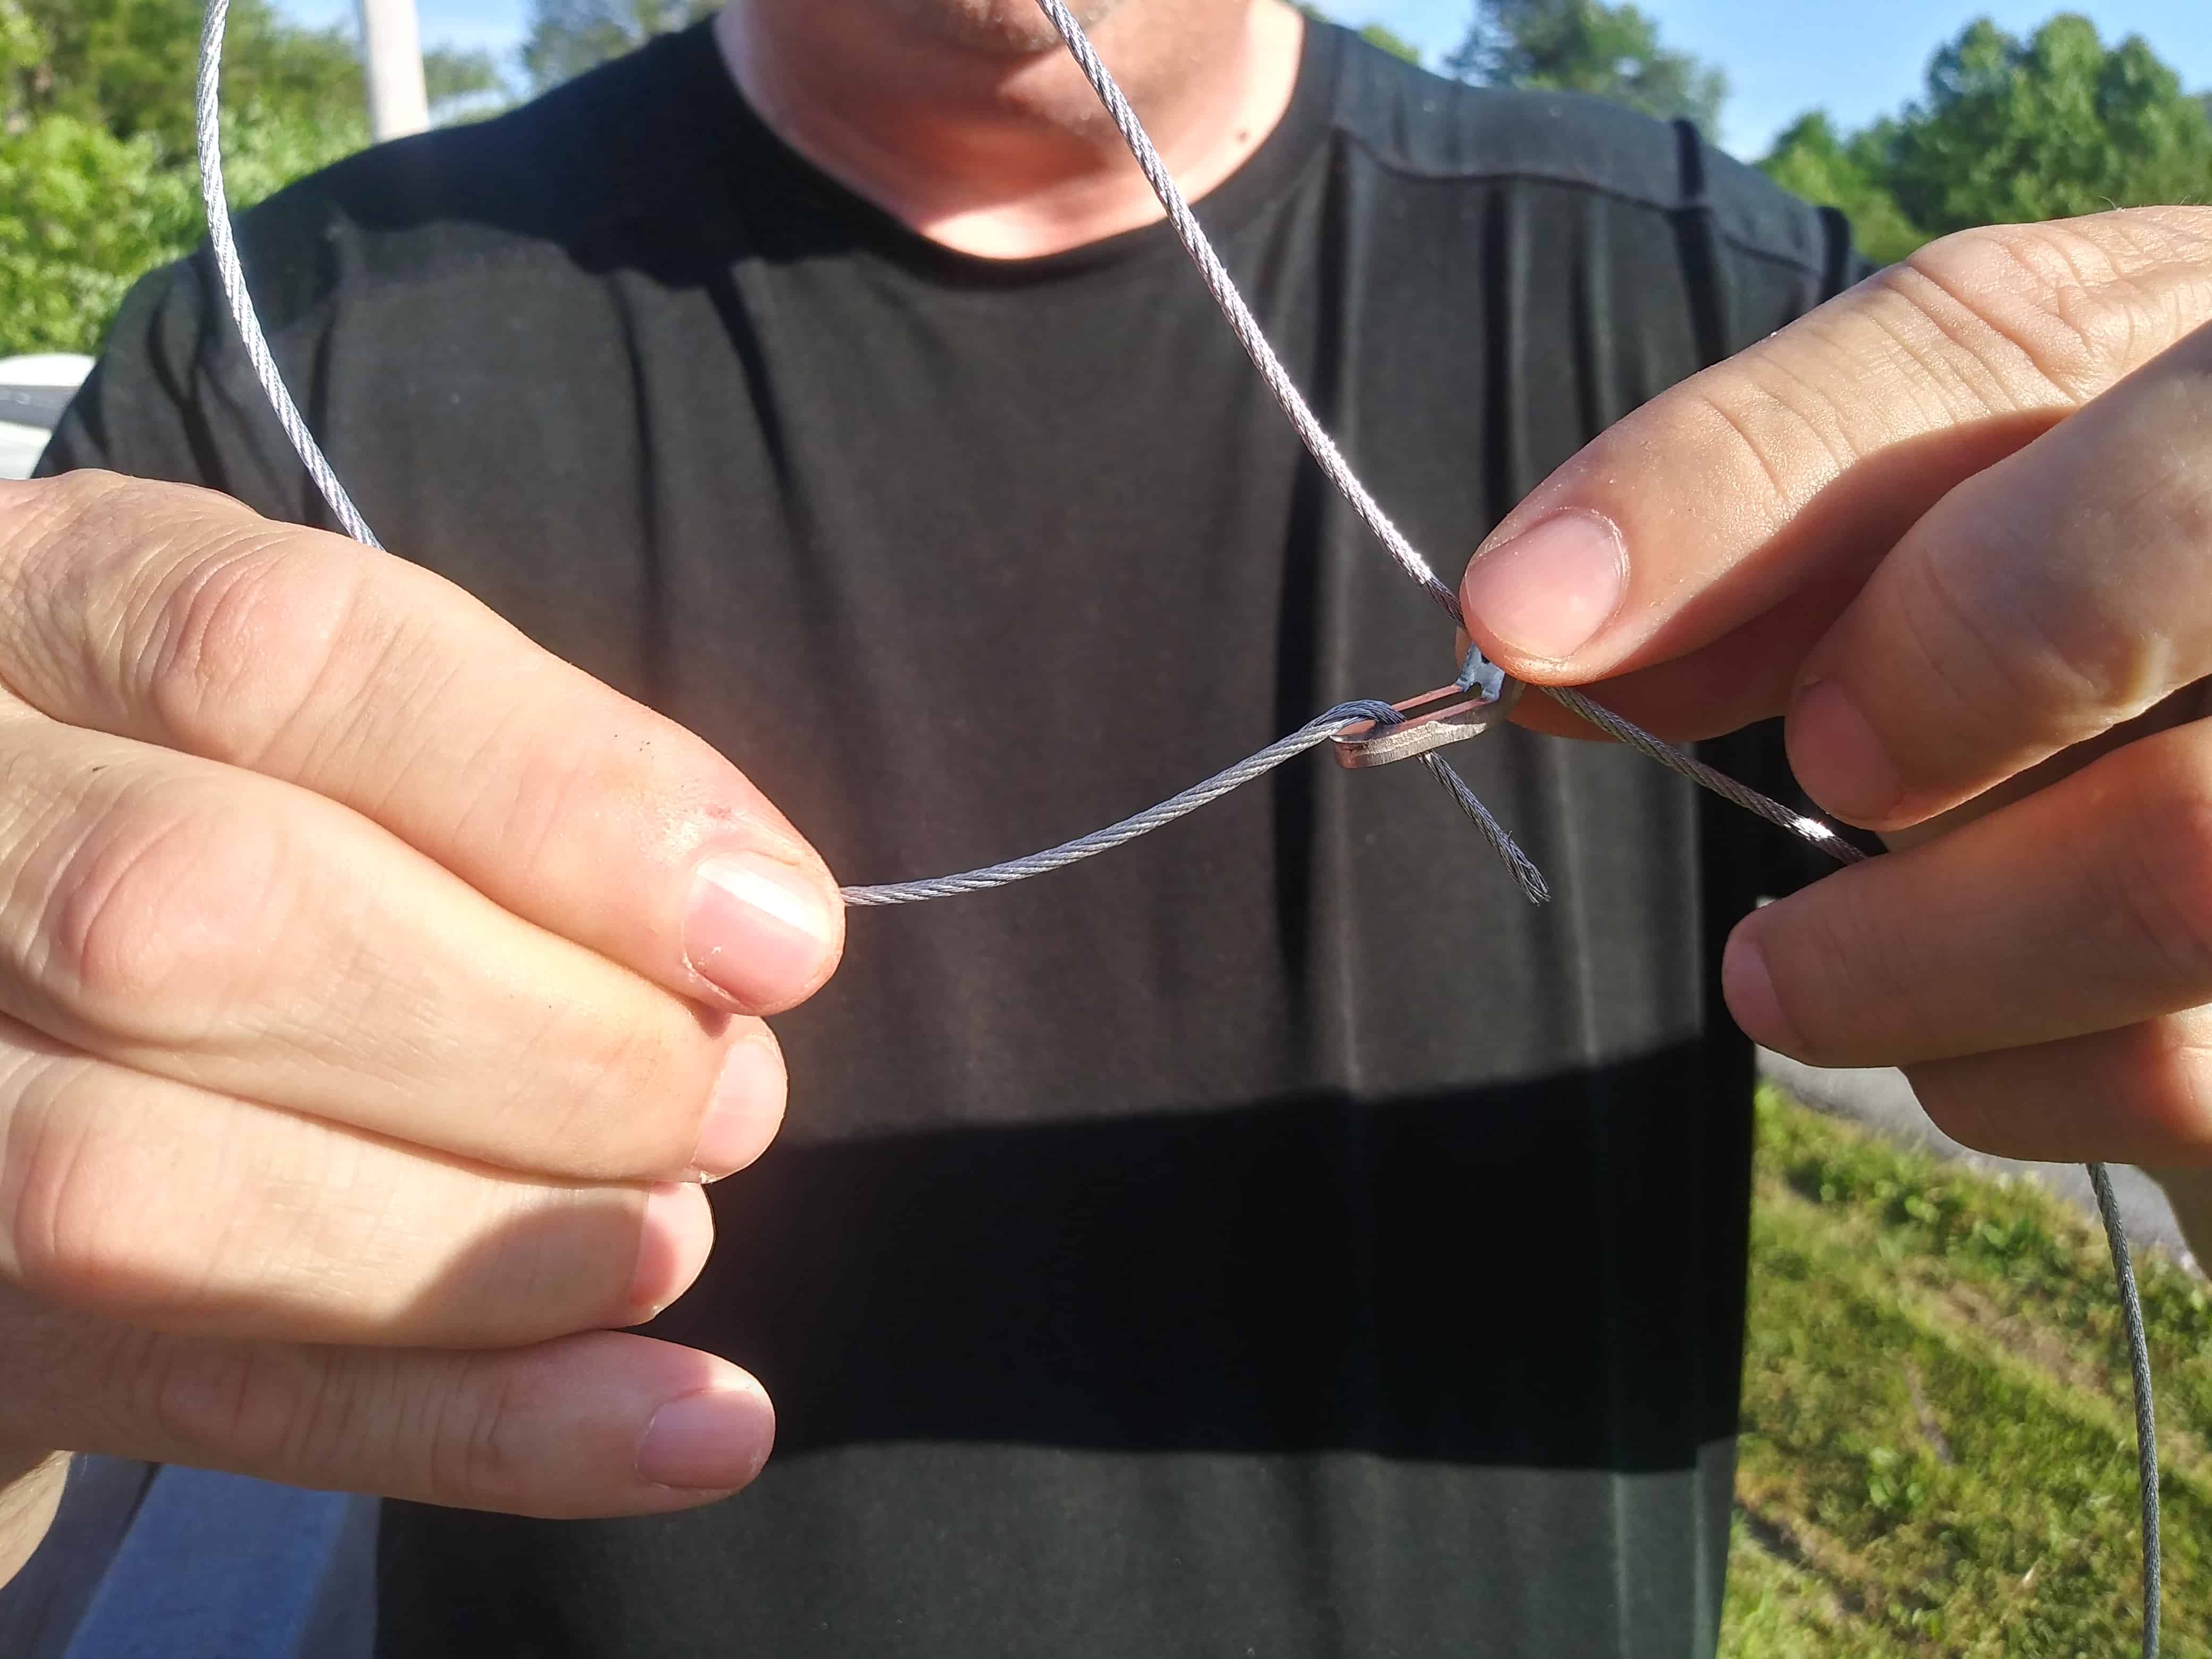
Insert that 90 degree end into the long slot nosotros mentioned before equally shown below. Note the frayed finish has been cut abroad.
Step Six Part Five:
Install your final end stop. Hammer it downwards onto the cable (or use crimpers)
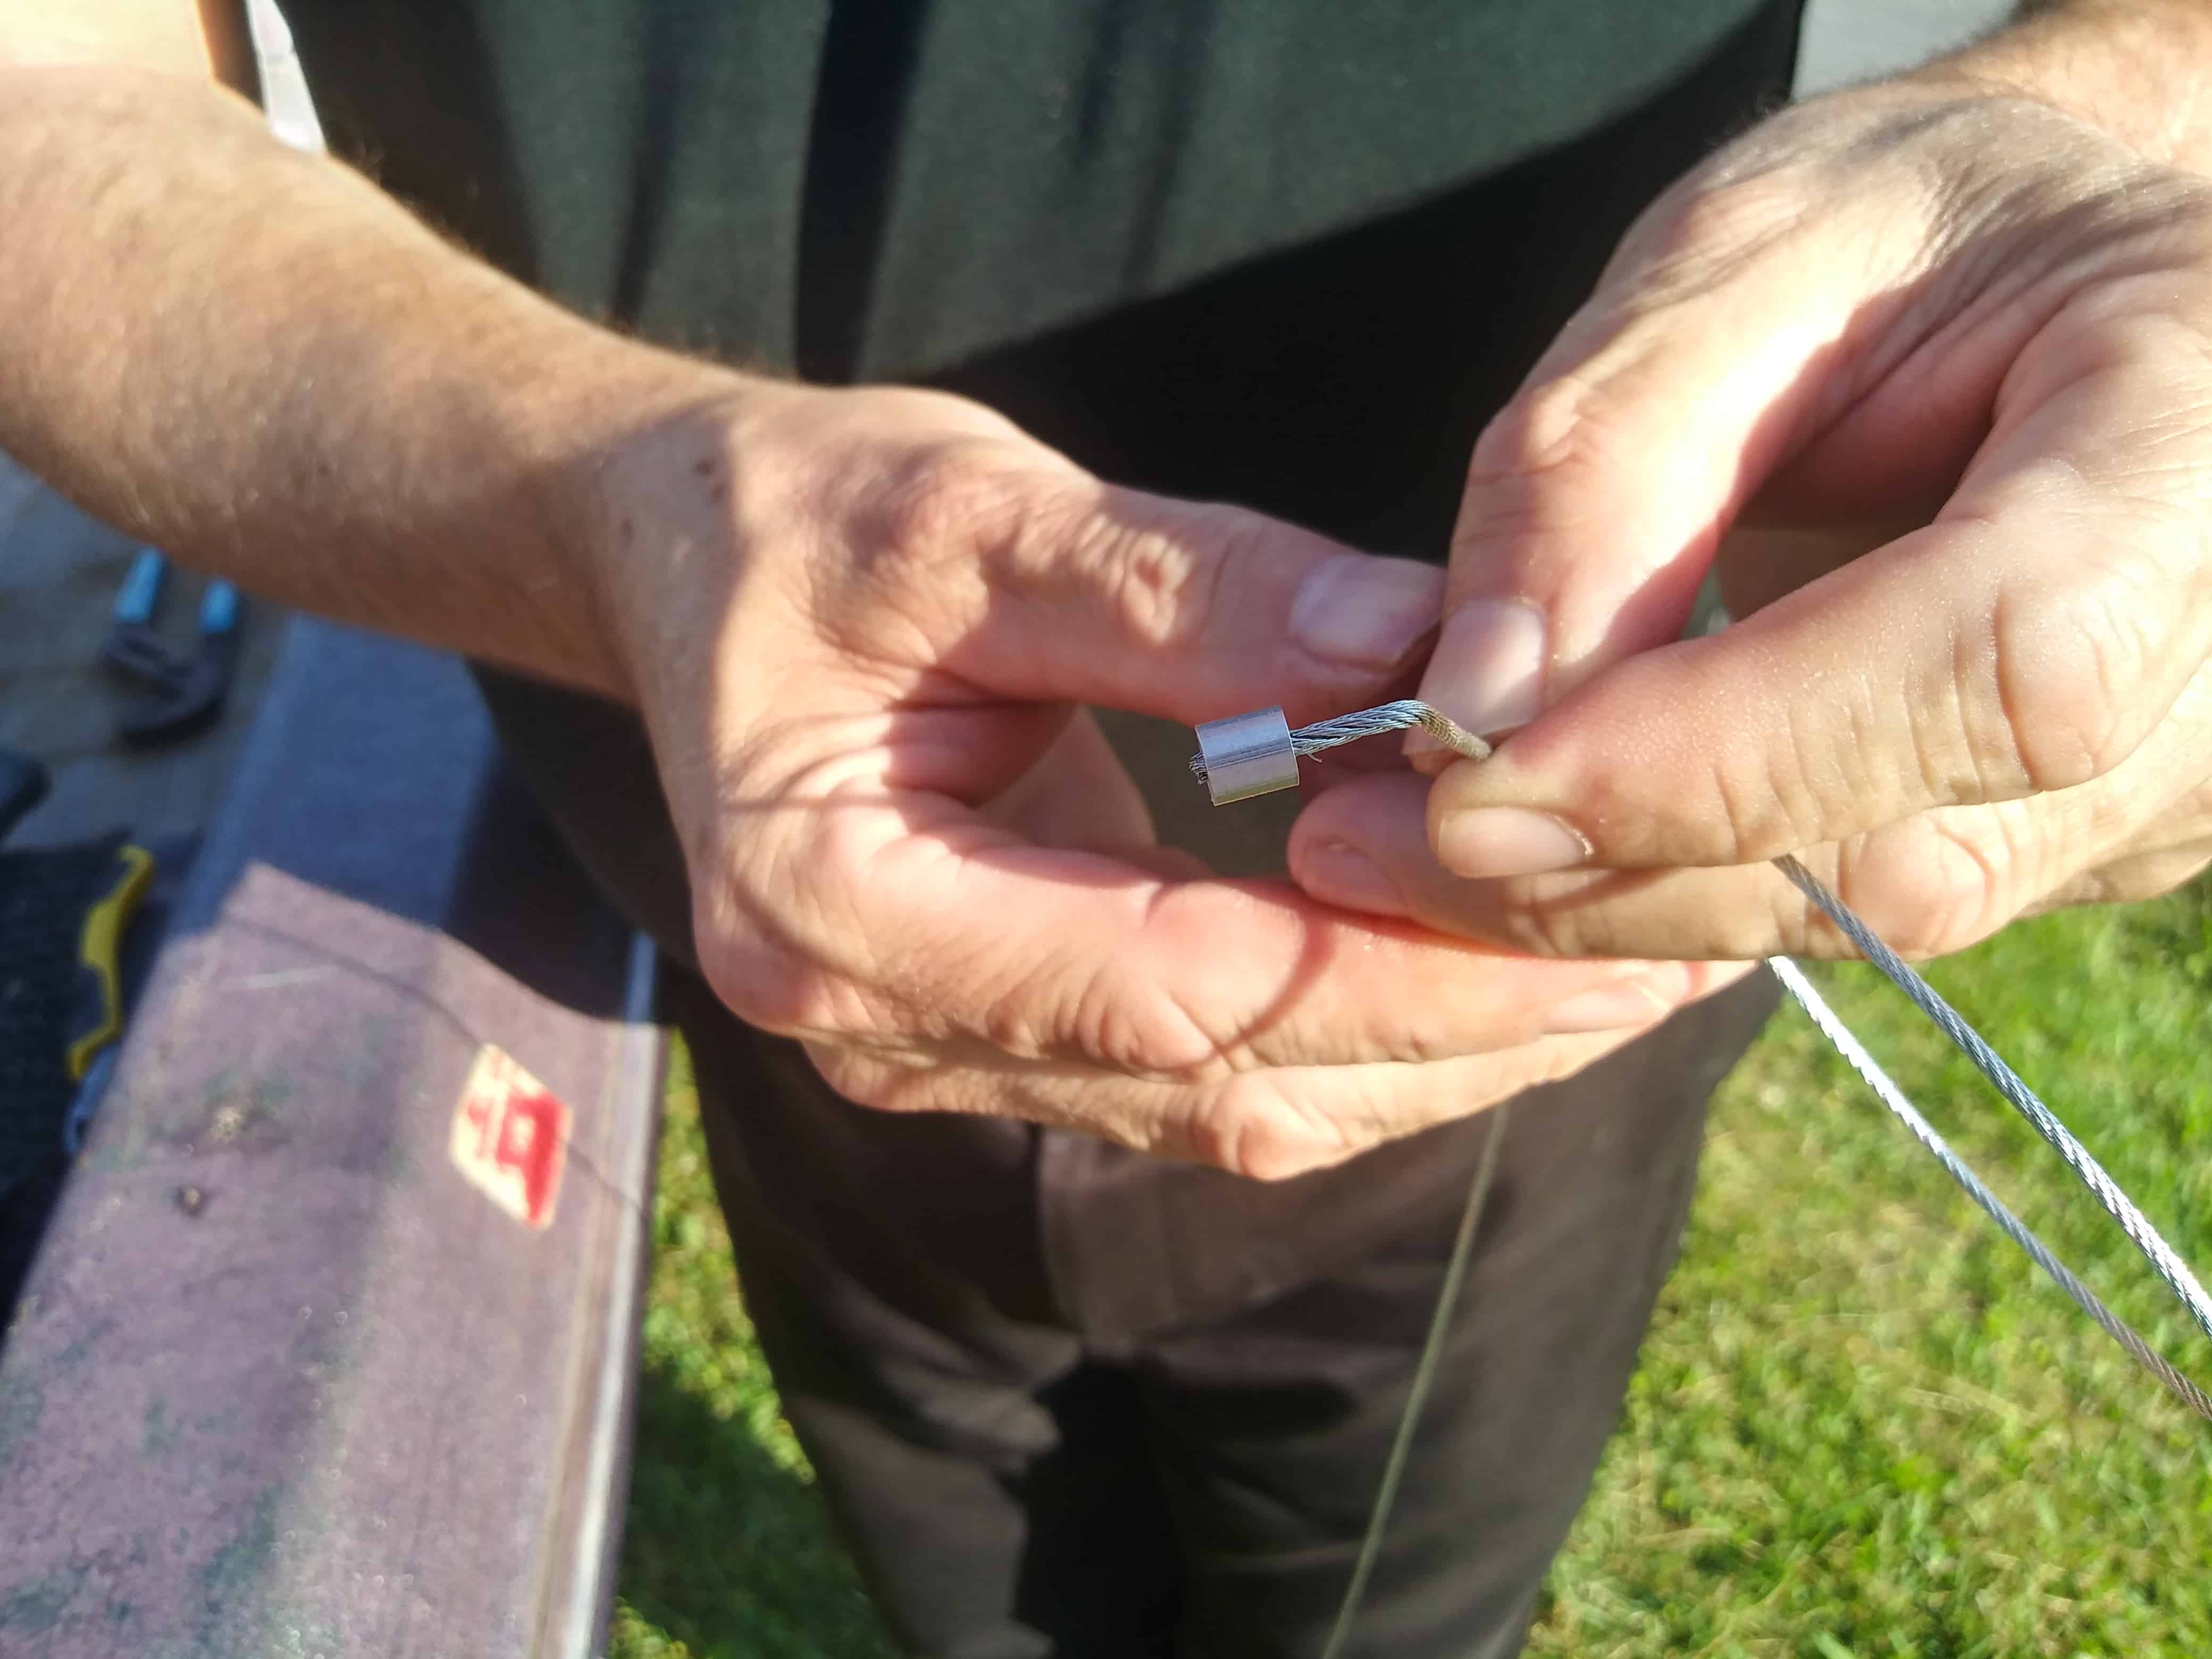
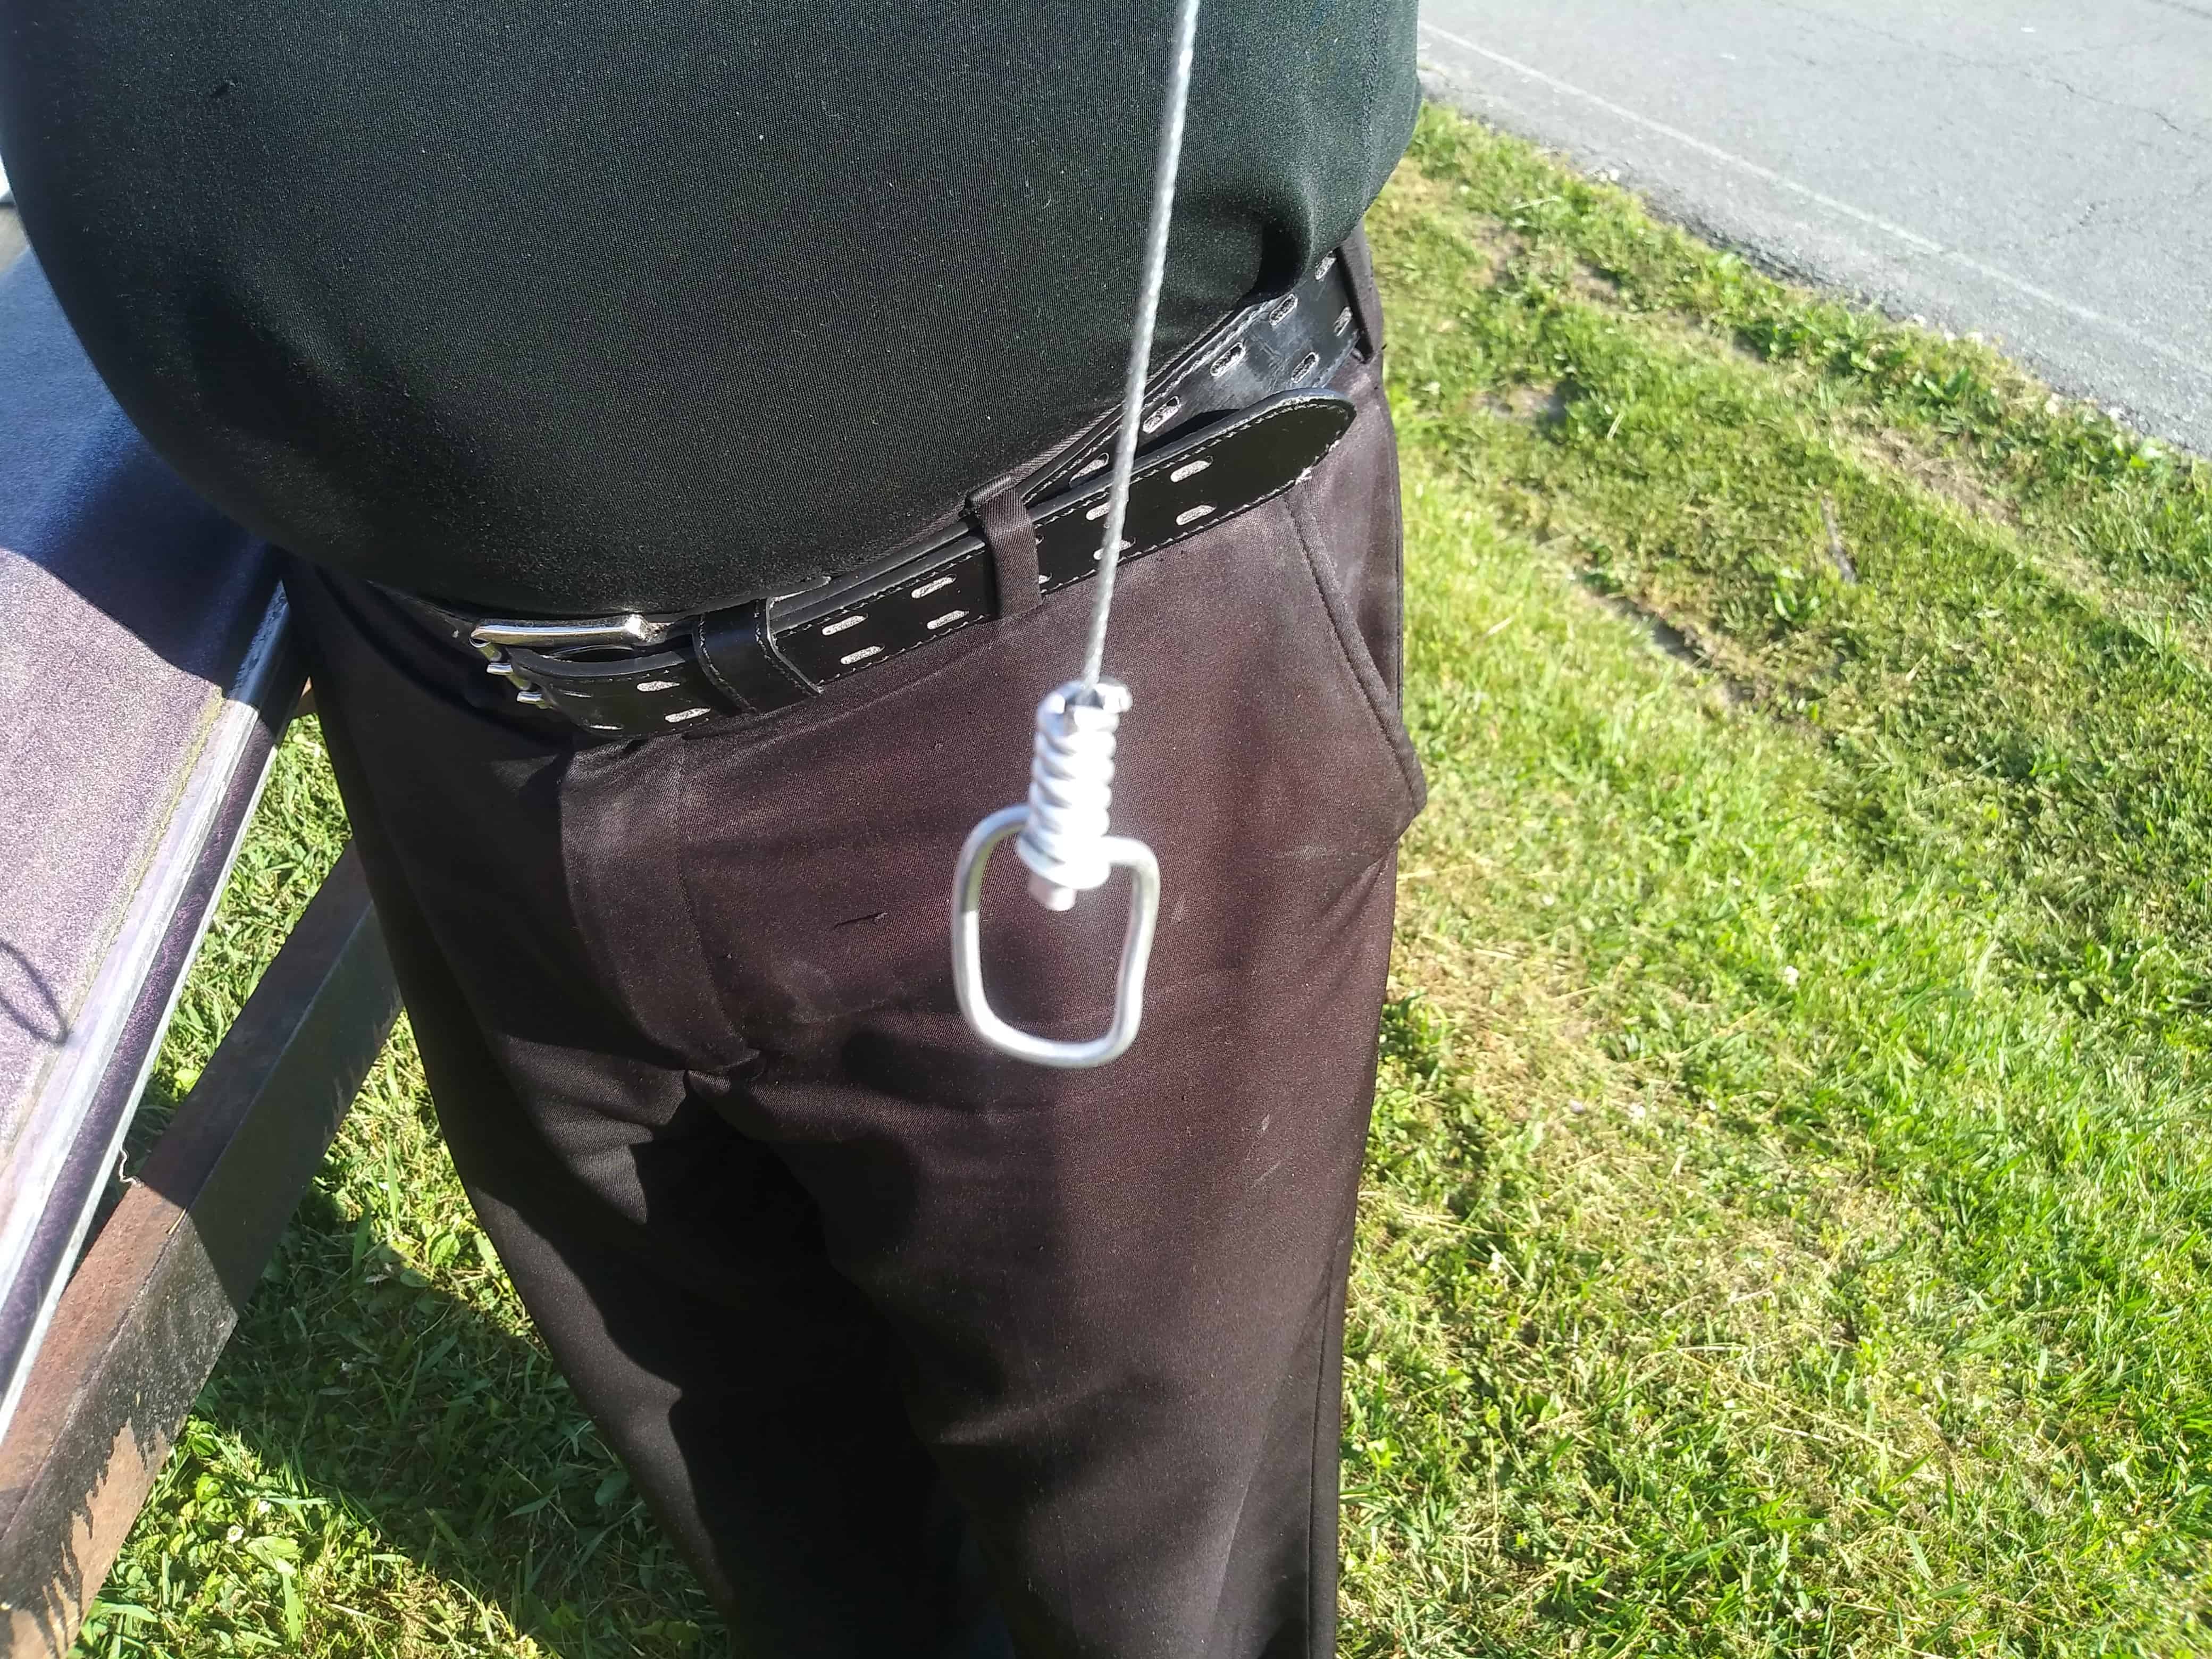
The final consequence should be as shown below.
This, if done correctly will make a fast endmost snare.
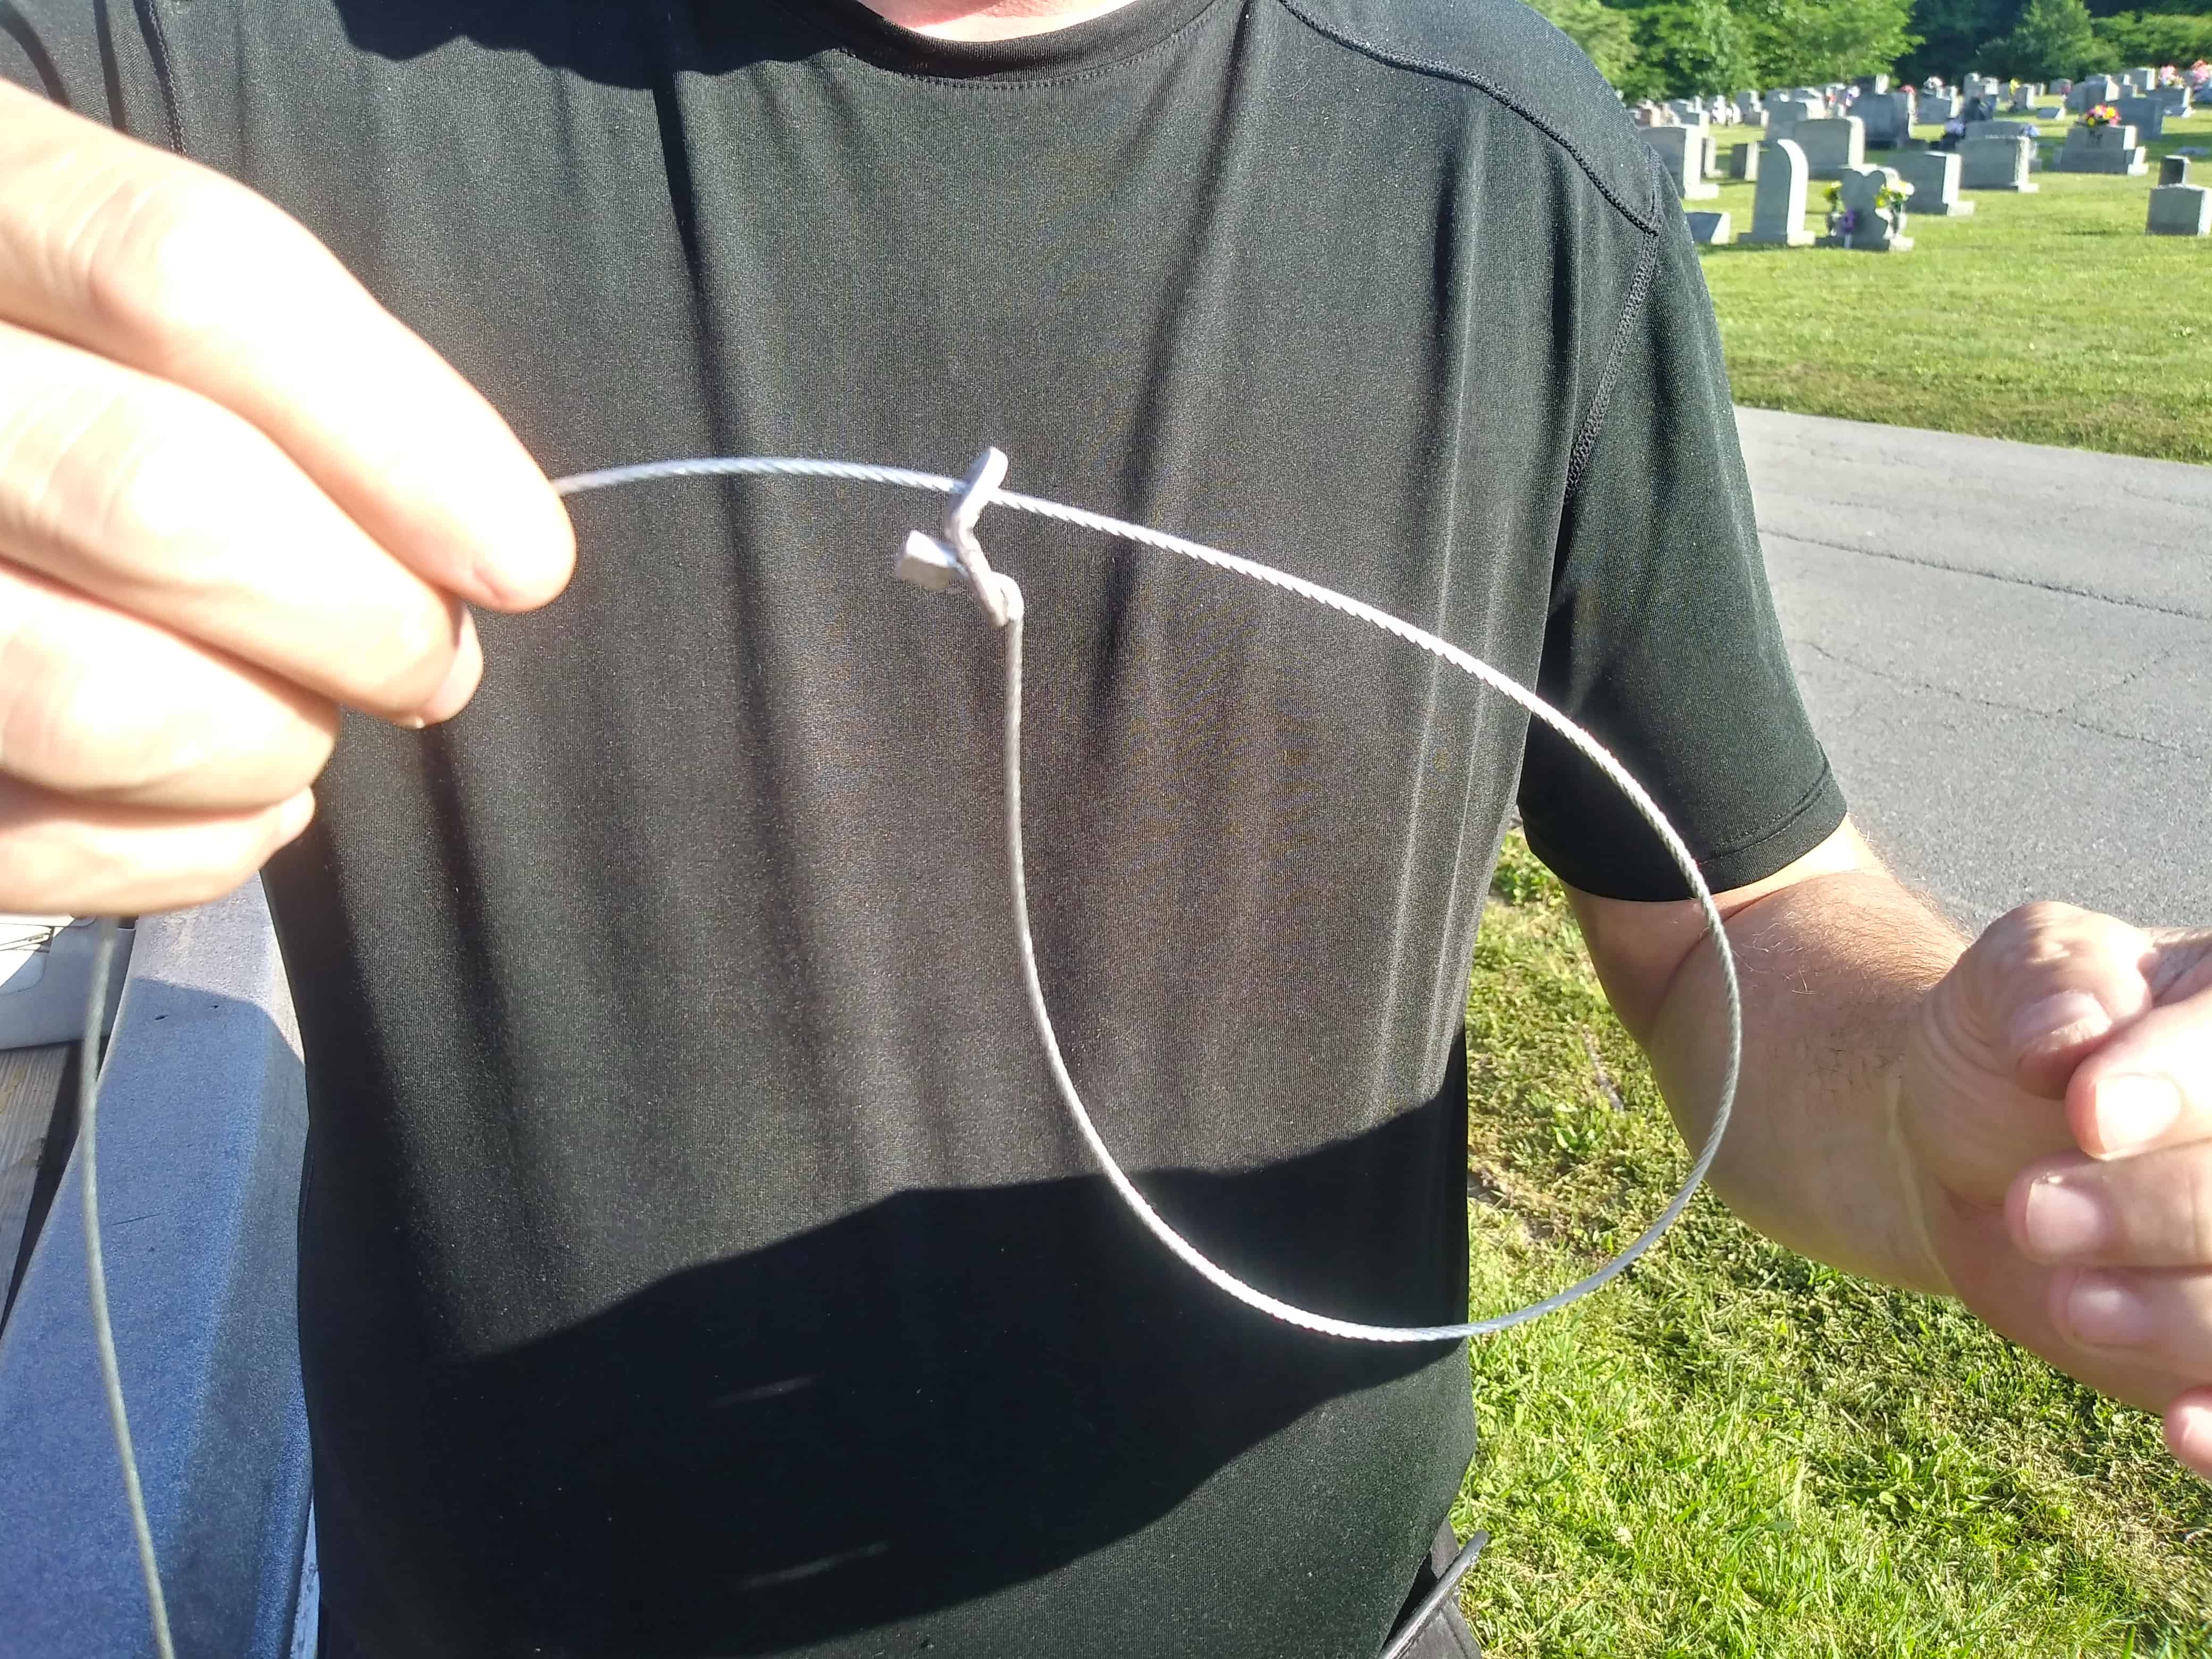
Congratulation! You just learned how to build survival snares! Every bit nosotros said earlier, learning how to make a snare can help you in survival situations and it can be a bit fun to build your own and see them in action. Learn this skill and laissez passer it on because this is an art we don't want to be forgotten.
Yes we know there is a creepy cemetery in the background. Happy snaring!
Source: https://www.snare-trap-survive.com/how-to-make-a-snare/
Posted by: spatesbrin1959.blogspot.com
0 Response to "How To Make A Small Animal Snare"
Post a Comment